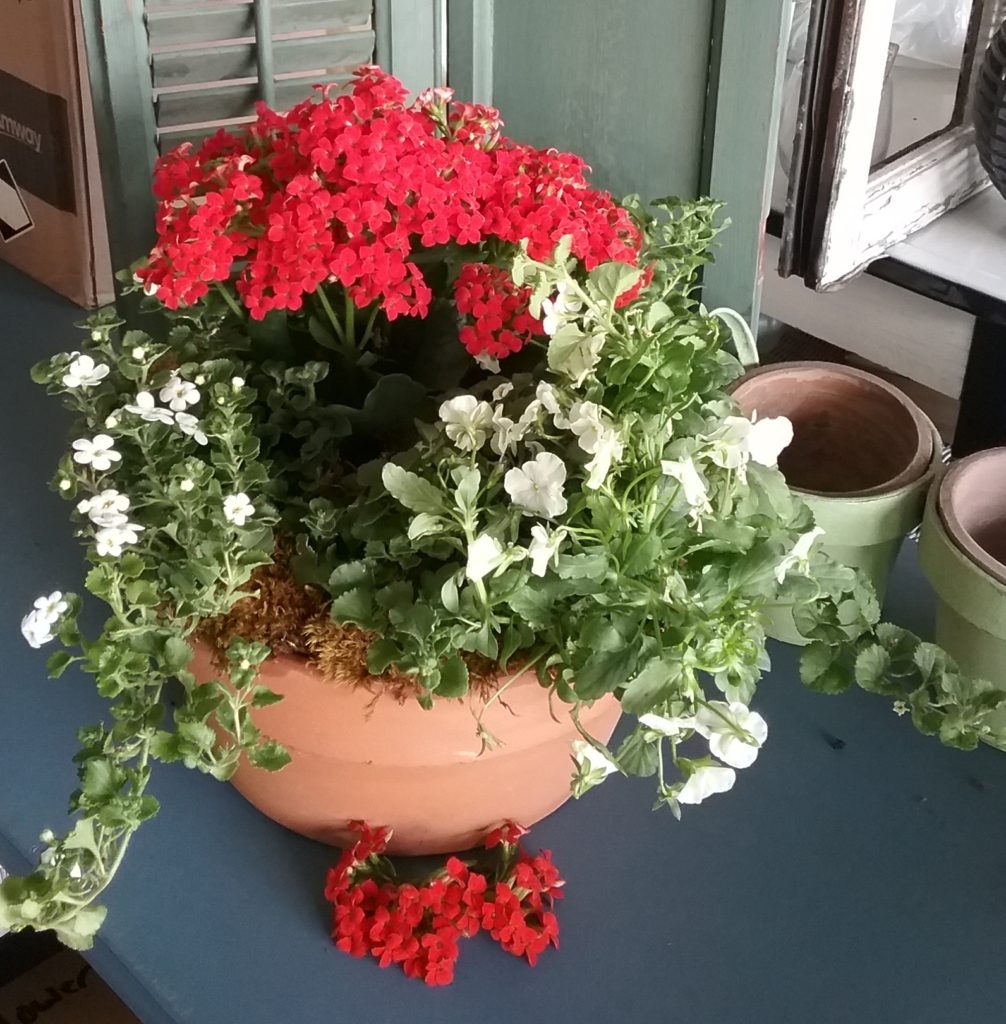
Looking for a quick yet unique centerpiece for your Spring table? This Red & White European Dish Garden is just what you need!
f you’re craving a spring centerpiece that feels fresh, effortless, and a little bit European‑market‑chic, this Red & White European Dish Garden is the perfect project. It comes together in minutes, looks professionally designed, and brings that greenhouse‑to‑table charm into your home.
European Dish Gardens have been around for decades, but their magic is in the method: mixing green + blooming plants, keeping them in their individual pots, and arranging them together in a single container. It’s simple, flexible, and ideal because each plant can be watered according to its own needs.
On this blog, I may sometimes use affiliate links, which means I earn a small commission if you purchase via the link. The price will be the same whether you use the affiliate link or go directly to the vendor’s website using a non-affiliate link. By using my affiliate links to shop, it helps me to be able to continue bringing you fresh new ideas and projects! Thank you!
HOW TO DESIGN A EUROPEAN DISH GARDEN FOR SPRING
What Makes a Dish Garden “European”?
European Dish Gardens are defined by:
- A mix of blooming and green plants
- Plants kept in their own pots
- A shared container (terra cotta, basket, ceramic, dough bowl, etc.)
- A layered, natural, greenhouse‑style look
This method gives you:
- Faster assembly
- Longer‑lasting arrangements
- Easier watering
- Endless seasonal variations
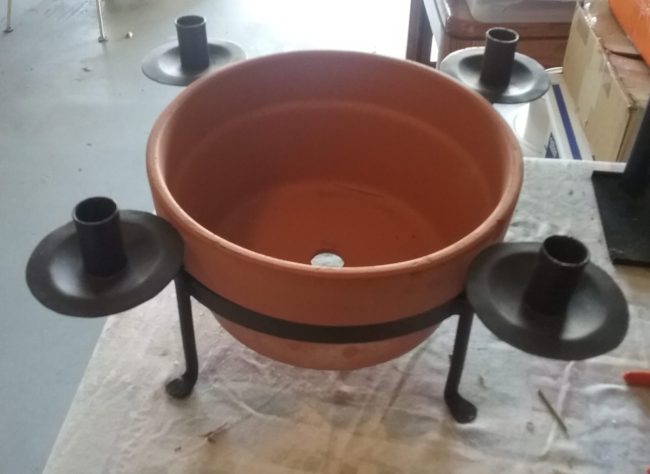
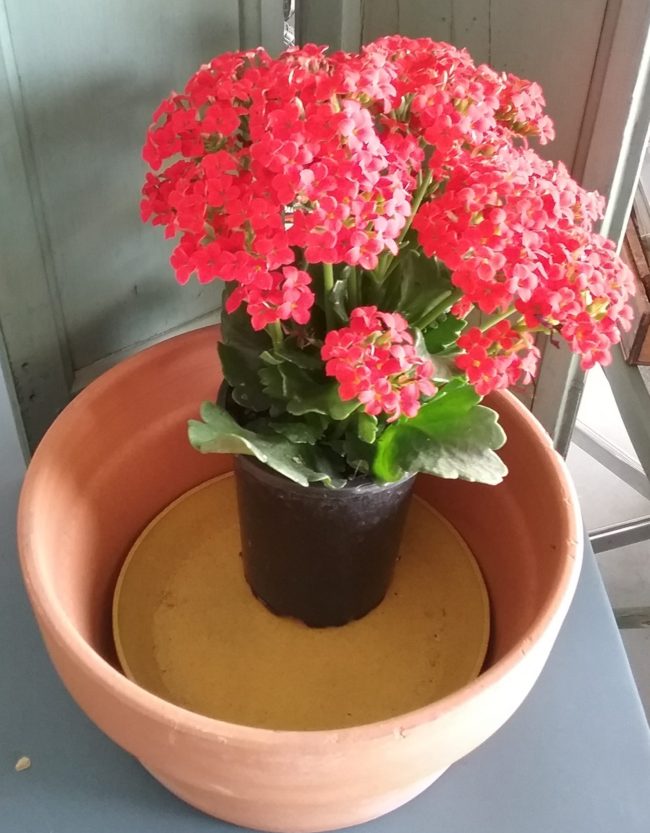
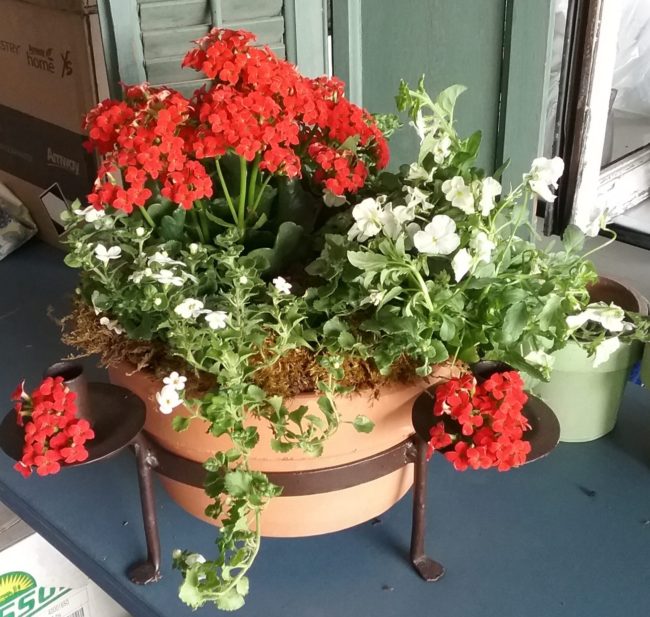
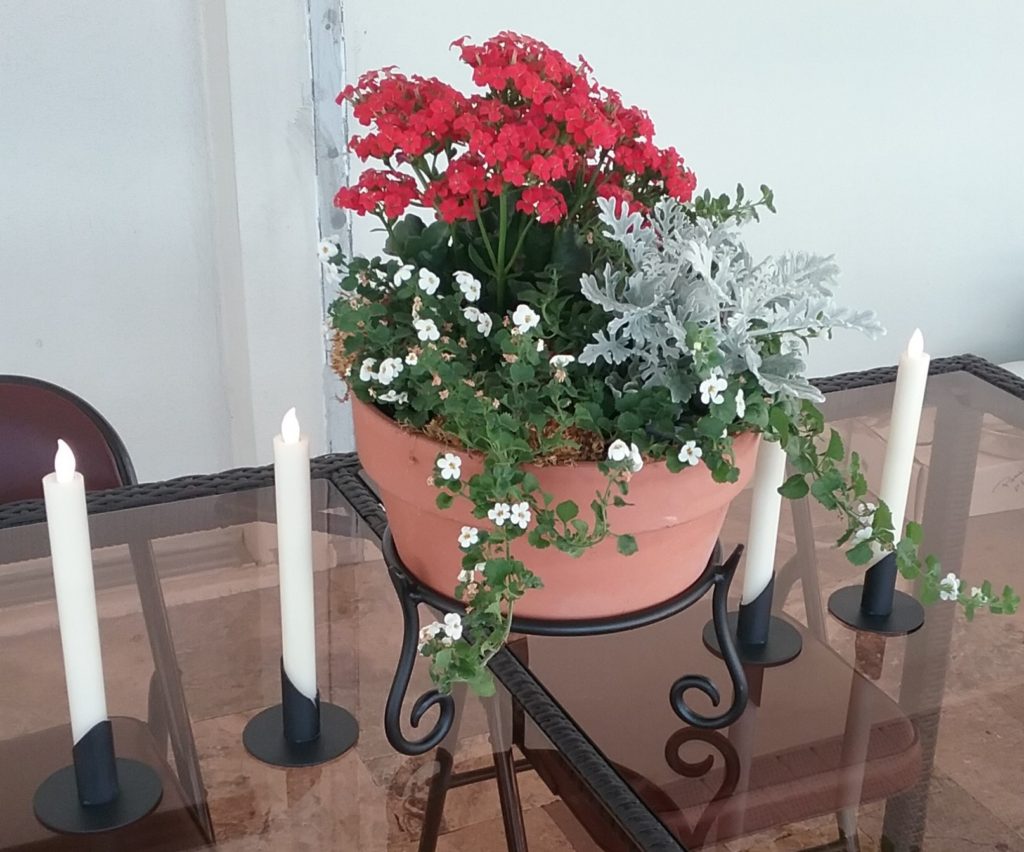
1. Choose Your Container
For this project, I used:
- A 10-inch terra cotta pot
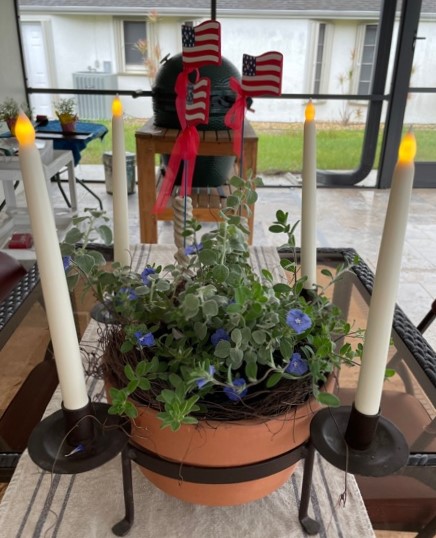
- A rustic iron stand with taper candle holders
Because this centerpiece was going on our lanai table, the terra cotta added warmth and texture, while the iron stand elevated the arrangement and made room for candlelight.
Tip:
If your container isn’t watertight, add:
- A liner
- A saucer
- Or a piece of pottery to cover the drainage hole
I used a small saucer to keep water from escaping.
2. Choose Your Plants
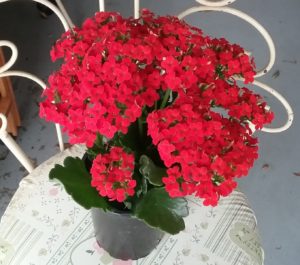
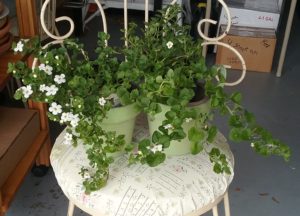
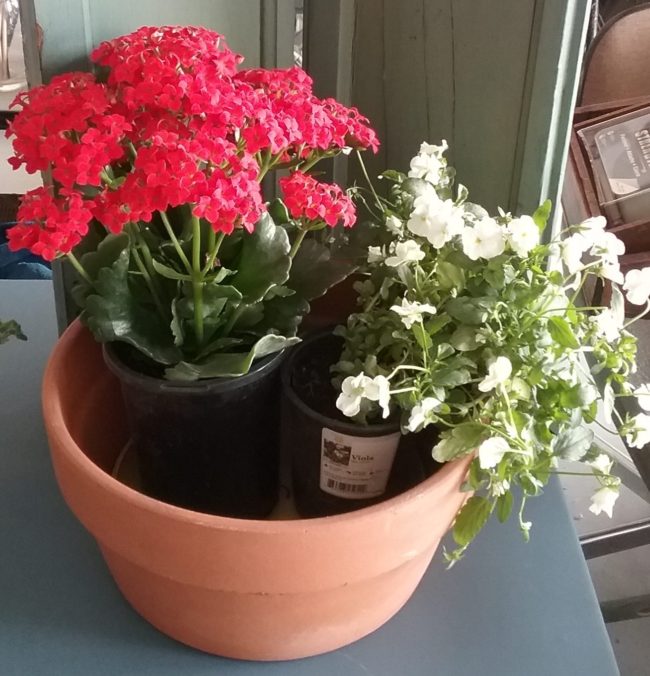
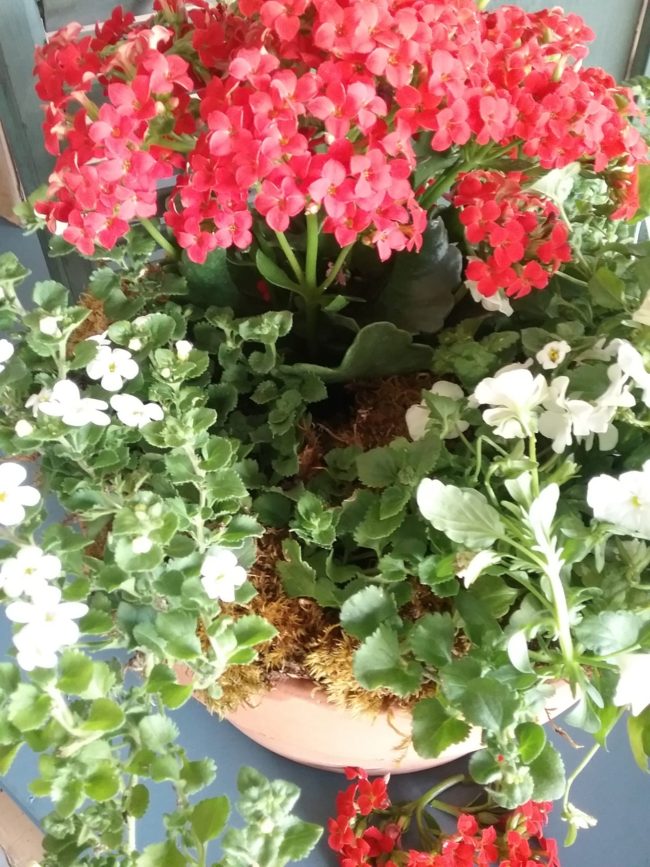
I like to use the “thriller, spiller and filler” method of planting. In simple terms, the thriller is the focal point, the spiller adds motion, and the filler fills in the “holes”. While at the garden center (which in this case was actually the local hardware store!), I found a bright red Kalanchoe for the thriller, two white Bacopas for the spillers and a creamy white Viola for the filler.
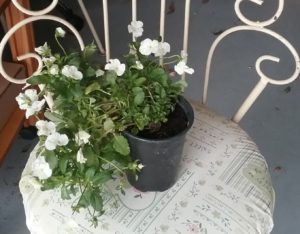
Because the plants are going to be kept in their individual pots and watered individually, you don’t need to pay attention to differences in water requirements like you would if you were planting plants together in soil. For example, the kalanchoe that I chose is a succulent and requires less water than the violas and the bacopa. When watering the planter, make sure you water into each individual pot. I use a watering can with a slender spout (sometimes called a goose neck spout) to reach into the planter.
In order to get 4 plants to fit in my pot, I used plants in 4-inch pots. This particular terra cotta pot is 10″ in diameter.
3. Assemble the Dish Garden
Here’s the simple sequence:
- Place the kalanchoe slightly off-center.
- Add the viola to one side for balance.
- Tuck the bacopa in front and back so they can trail.
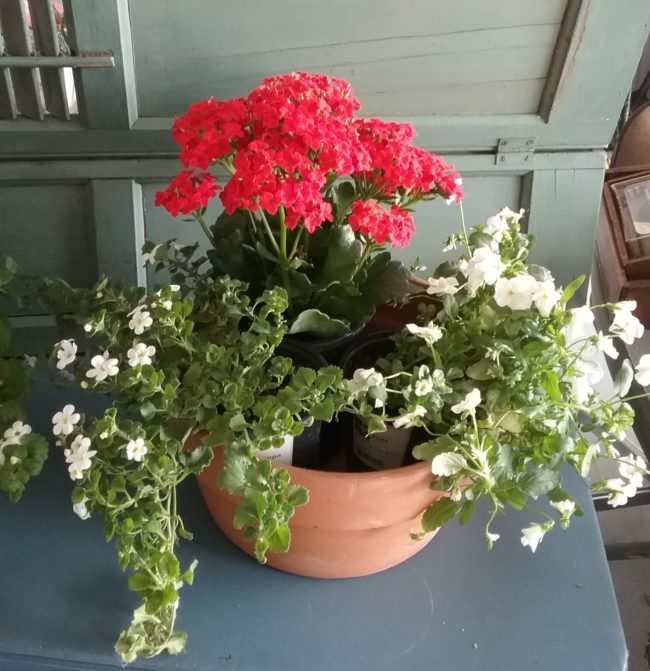
- Cover exposed soil with moistened sheet moss for a finished, European‑market look.
- Return the pot to the iron stand and adjust the candles.
I accidentally broke a few kalanchoe stems while arranging — so I tucked them in front of the candle holder for the photo. (A happy accident!)
Save This Pin For Later!
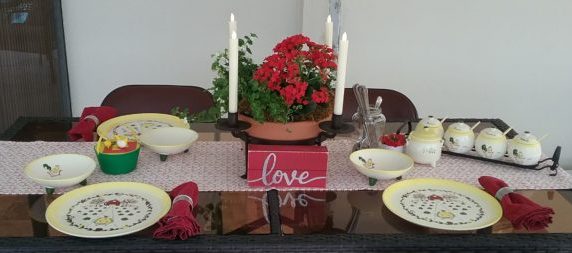
The Finished Red & White European Dish Garden for Spring
This Red & White European Dish Garden became the perfect centerpiece for a Spring meal on the lanai. It’s bright, fresh, and feels like something you’d find at a spring flower market in Europe.

More European Dish Garden Inspiration:
If you are intrigued by the concept of European Dish Gardens, here are a few more examples of European Dish Gardens for different times of the year.
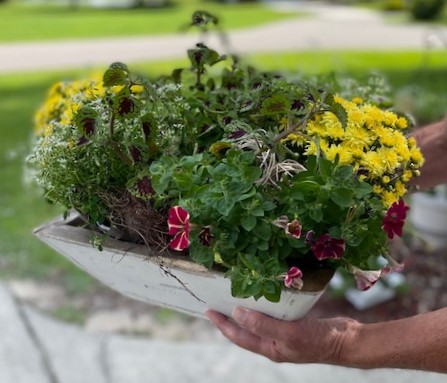
European Dish Garden Featuring Chocolate Drop Coleus
Early Spring Rustic Dough Bowl Centerpiece
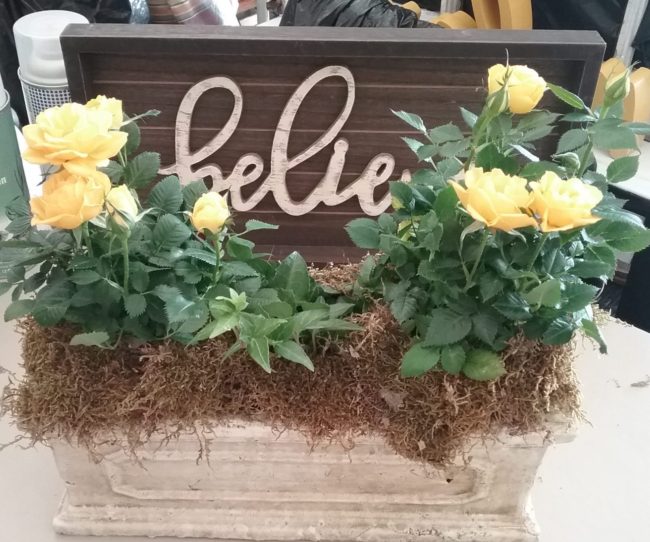
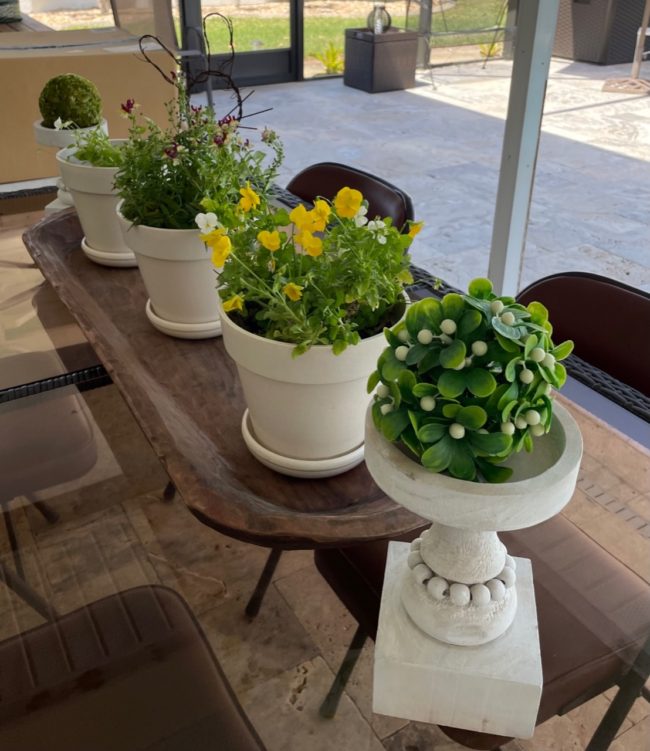
Yellow Rose European Dish Garden
Blue & White European Dish Garden
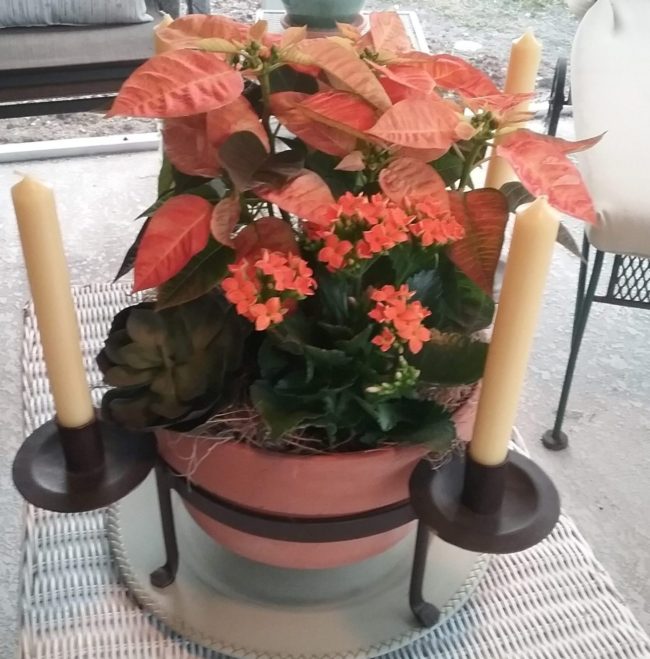
European Dish Garden Featuring Fall Poinsettia
About the Stand (and the Dupe!)
My iron stand is one I purchased years ago and haven’t been able to source again. But I found a dupe that gives a similar look using a gazing globe stand — a great option if you want the same elevated style.
Shopping links:
As an Amazon Associate, I earn from qualifying purchases
Gazing Globe Stand similar to the one I have : metal stand
metal candle holders : set of 2 black candle holders
terra cotta bulb pot : 9.75 inch terra cotta
Battery taper candles : set of 4
AAA batteries : pack of 32 Energizer batteries
Disclosure: Some of the links in this post are affiliate links, meaning, at no additional cost to you, I will earn a small commission if you click through and make a purchase. The opinions here are all my own. It helps me to continue to bring to you DIY and projects on my blog.
Please see my disclosure page for more information.
This idea is really gorgeous and I am glad to know the names of the plants used. Being able to locate everything is really a plus.
Thank you, Pam!
That is amazing!!! Thanks for the tips. I have a rectangular pot as a centerpiece on my kitchen table, now I know what to do to make it really shine!
Thank you , Rue!
I love this idea! I have something similar in our deck table and I use it as an easy-access herb garden. Just because sometimes I don’t have the time to run down to the garden. What I really like is the addition of the candles. Love that so much!
A tabletop herb garden is a great idea! I love it! Thanks for sharing it!