Create an easy fall centerpiece using a vintage crockery pitcher, hydrangeas, and neutral pumpkins. Soft, simple, and perfect for early fall decorating.
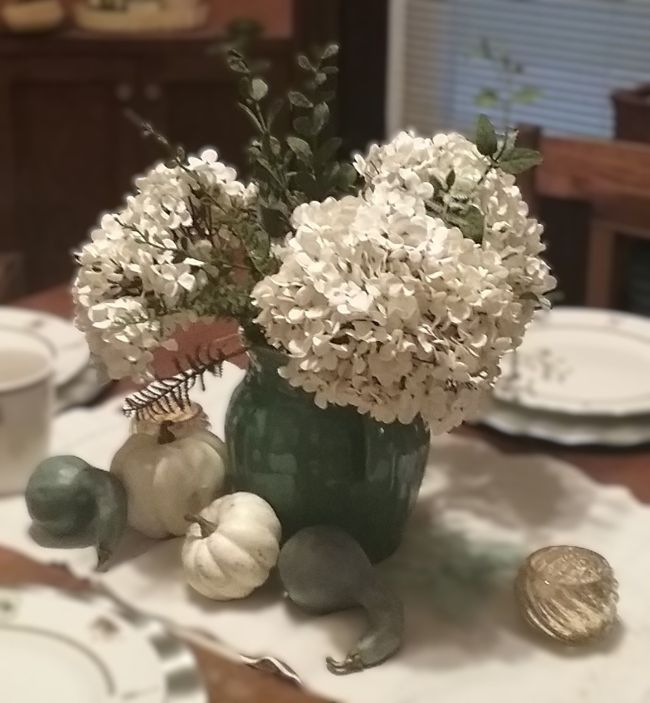
Fall decorating doesn’t have to mean deep oranges or heavy colors. If you love a softer palette, you can create a beautiful fall centerpiece using a vintage crockery pitcher, neutral pumpkins, and a few seasonal accents. This simple arrangement brings a cozy autumn feel to your table without overwhelming your space — perfect for early fall in Florida when you want the season to feel light and fresh.
On this blog, I may sometimes use affiliate links, which means I earn a small commission if you purchase via the link. The price will be the same whether you use the affiliate link or go directly to the vendor’s website using a non-affiliate link. By using my affiliate links to shop, it helps me to be able to continue bringing you fresh new ideas and projects! Thank you!
Easy Fall Centerpiece
If you love simple decorating, this is one of the easiest centerpieces you can create. I used a vintage crockery pitcher I already had and added a few hydrangeas for a soft look. It takes just a minute to put together, and it works on a dining table, kitchen island, entryway, or even a dresser. Here’s how to create this quick, budget‑friendly centerpiece.
Materials
- A crockery pitcher (any size works)
- 3–5 faux hydrangea stems
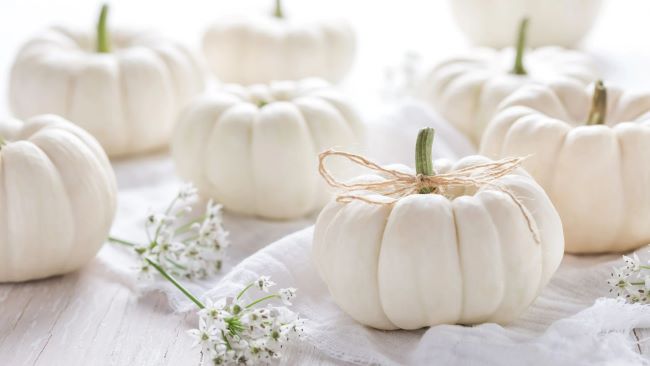
- Small decorative pumpkins or gourds (white, green, turquoise)
- runner & small candle holders to add interest
- Optional: greenery stems for texture
- Scissors or wire cutters (if stems need trimming)
Step 1 — Start With Your Pitcher
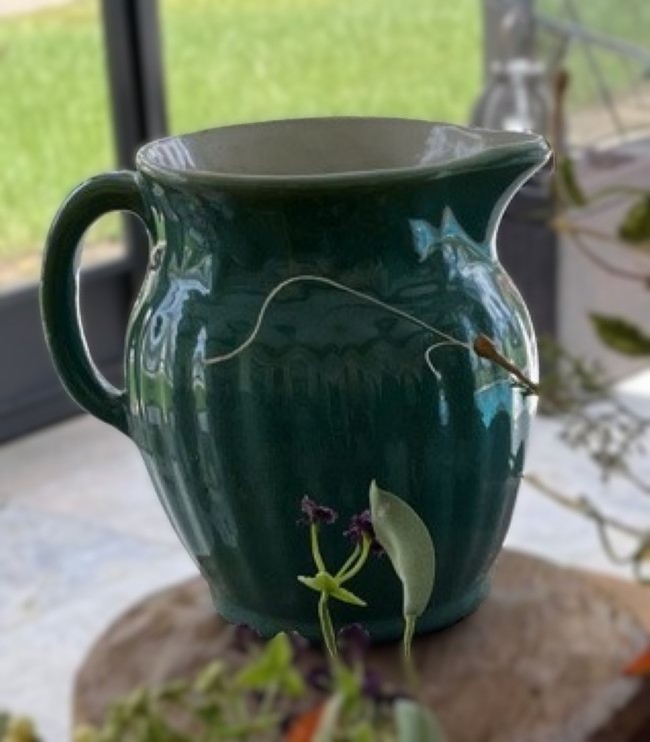
Place your crockery pitcher in the center of your table on a runner. The neutral pottery instantly grounds the look and works beautifully with fall textures.
Any pitcher works, but vintage crockery has a beautiful weight and texture. If you don’t have one, a ceramic or stoneware pitcher is perfect. Place your pitcher where you plan to display it. This way you judge height and fullness as you build the arrangement.
Step 2 — Add Hydrangeas
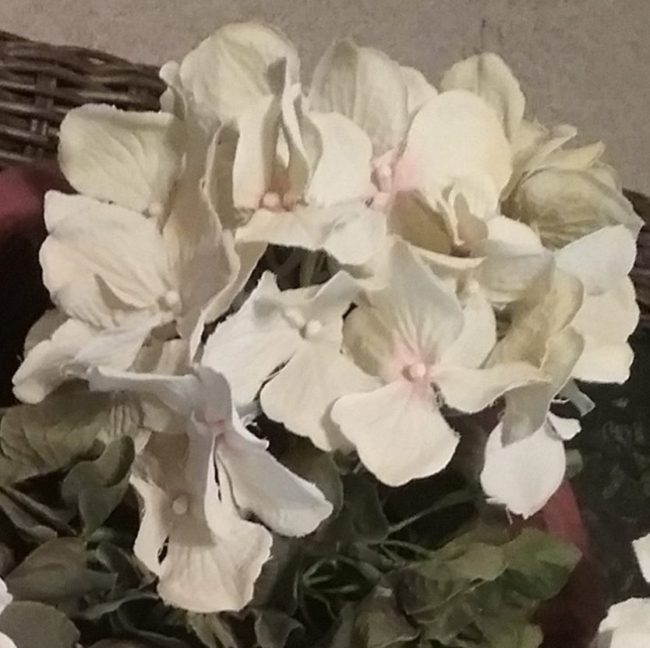
Hydrangeas are perfect for fall because they add fullness without feeling heavy. White or soft green stems keep the palette calm and let the pumpkins shine.
You can use either faux or fresh. I used faux in my arrangement. Hydrangeas are full and forgiving, so you only need a few stems to make the arrangement look complete. Give your arrangement a natural, relaxed shape instead of a stiff, straight‑up look by placing one hydrangea stem slightly off‑center.
Step 3 — Build the Shape With 2–3 More Stems
Angle the stems outward so they drape a bit. Bend or trim the stems so the flowers sit just above the rim of the pitcher. This keeps the arrangement looking natural and not too tall for conversation across a table.
Step 4 — Add Seasonal Texture
Tuck in a few greenery stems to give the arrangement movement. This keeps the centerpiece from feeling too “summer” and adds that early‑fall shift.
Step 5 — Surround With Pumpkins
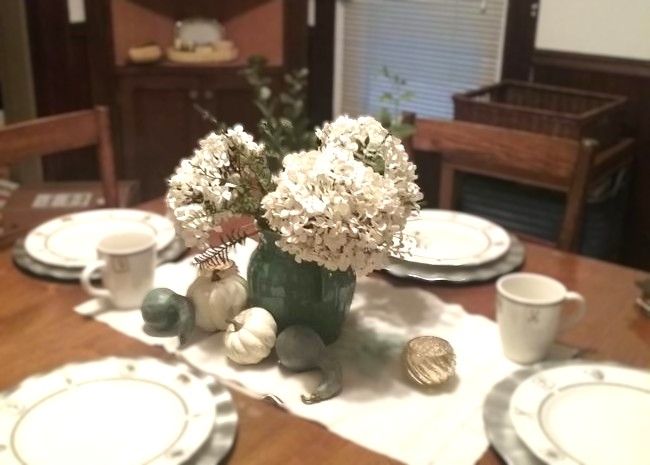
Scatter small pumpkins and gourds around the base of the pitcher. Mix whites, greens, and a touch of turquoise for a soft, elegant fall look. Vary the sizes so the display feels collected and natural.
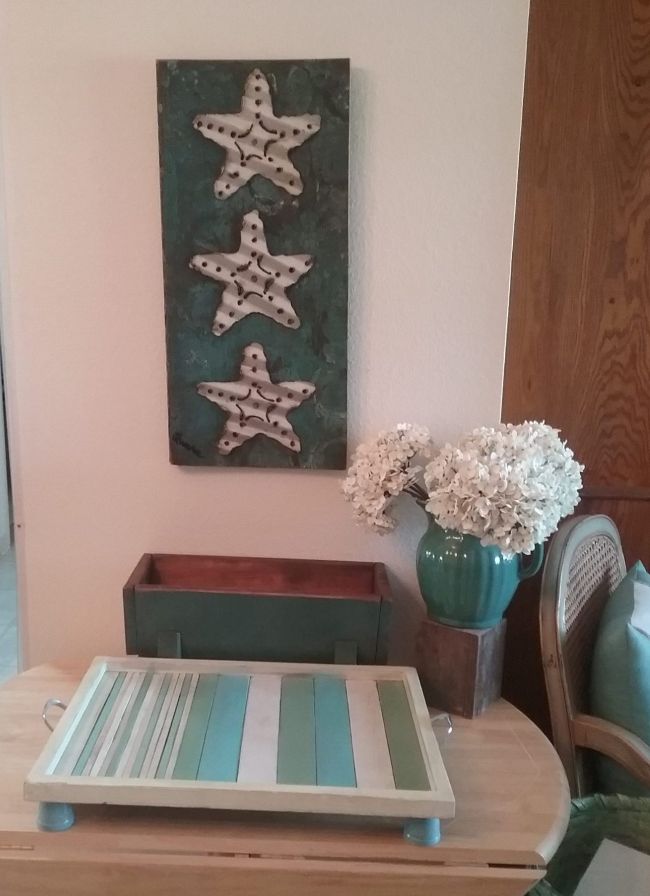
Place your finished arrangement on a table, tray, or sideboard. It instantly adds a cozy autumn feel without any fuss.
Final Look
A vintage pitcher, a handful of hydrangeas, and a few neutral pumpkins create a cozy fall centerpiece that works for everyday decorating or holiday hosting. It’s simple, quick, and easy to update as the season goes on.
🌿 Closing Tip
If you don’t have a crockery pitcher, try this with any ceramic or glass pitcher you already own. Cream hydrangeas are especially forgiving and look beautiful in every room.
Another idea is to display the bouquet in an antique carrier!
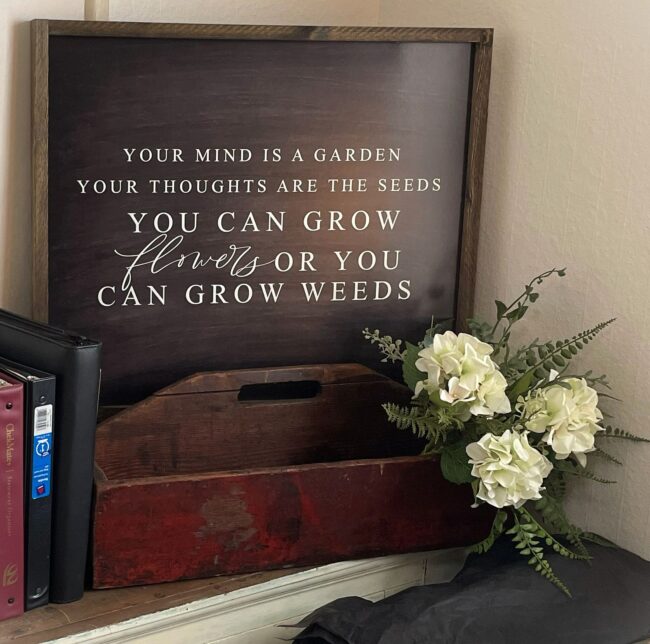
I love how a simple arrangement like this can bring new life to a room, especially when it uses a piece with personal history. This pitcher has been with me since I was little, and styling it each season feels like a small way of keeping those memories close. I hope you’ll try creating your own centerpiece with something meaningful from your home.
To See How I used The Same Crock Pitcher for Spring – The Easiest Spring Centerpiece Using a Vintage Crockery Pitcher
Save This Pin For Later
Disclosure: Some of the links in this post are affiliate links, meaning, at no additional cost to you, I will earn a small commission if you click through and make a purchase. The opinions here are all my own. It helps me to continue to bring to you DIY and projects on my blog.
Please see my disclosure page for more information.
Leave a Reply