Have an out‑of‑season tray? This simple tray makeover takes less than 15 minutes and works for any style or season.
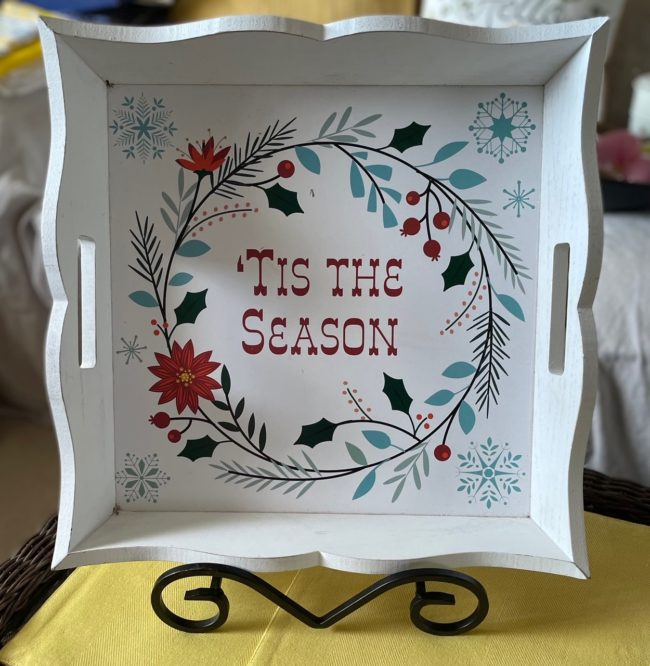
I found this cute cottage‑shaped tray on clearance, but it had a winter scene printed on the bottom. That meant I could only use it for a few weeks each year! Instead of letting it sit in storage, I gave it a simple makeover using foam board and leftover floral wrap. Now the tray works for every season — and the insert is completely removable, so I can change it anytime. This quick little project took less than 15 minutes and cost almost nothing.
It felt too cute to hide away all year, so I decided to give it a second life.
On this blog, I may sometimes use affiliate links, which means I earn a small commission if you purchase via the link. The price will be the same whether you use the affiliate link or go directly to the vendor’s website using a non-affiliate link. By using my affiliate links to shop, it helps me to be able to continue bringing you fresh new ideas and projects! Thank you!
Easy Tray Makeover (Step‑by‑Step)
Materials
- Seasonal tray (any size or shape)
- Foam board
- Craft knife or scissors
- Pencil
- Decorative paper, gift wrap, or floral sleeve
- Tape or glue stick
1. Trace the Bottom of the Tray
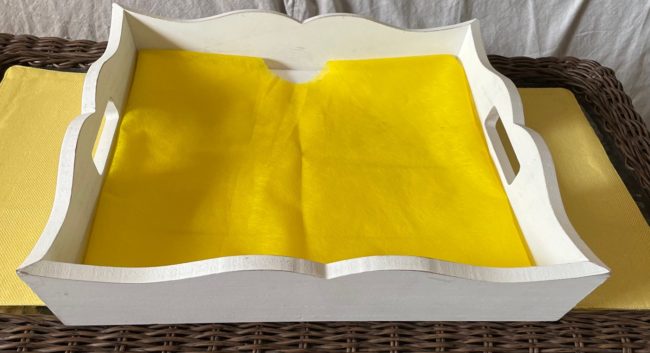
Flip your tray over and trace the shape onto a piece of foam board. This gives you a perfectly sized insert without any guesswork.
2. Cut Out the Insert
Use scissors or a craft knife to cut along your traced lines. Test the fit inside the tray—it should sit flat and snug without bending. I cut the insert a tiny bit smaller in case I wanted to wrap the craft board.
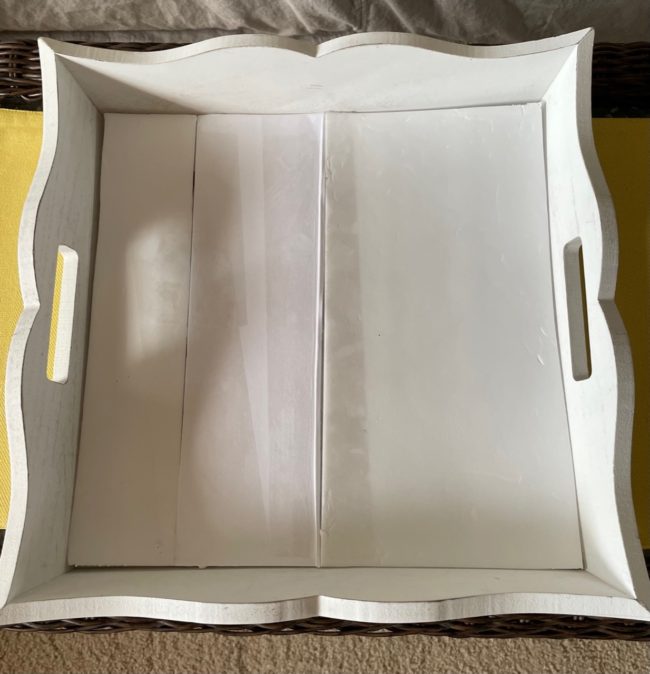
3. Wrap the Foam Board
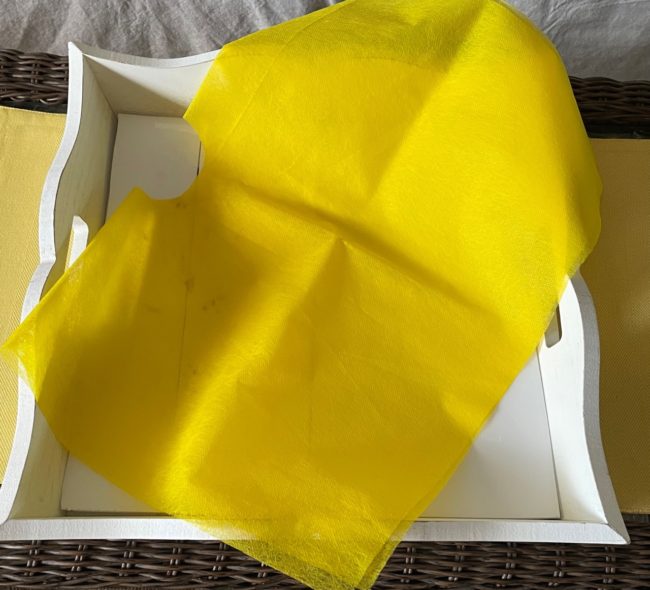
Lay your decorative paper or floral wrap face‑down, place the foam board on top, and wrap it just like a present. Smooth the front so there are no wrinkles or bubbles.
4. Secure the Back
Fold the edges around the back and tape or glue them in place. The underside won’t be visible, so it doesn’t need to be perfect—just secure.
5. Place the Insert Into the Tray
Drop the wrapped insert into the tray. It instantly hides the seasonal design and gives you a fresh, clean base you can change anytime.
6. Style for the Season
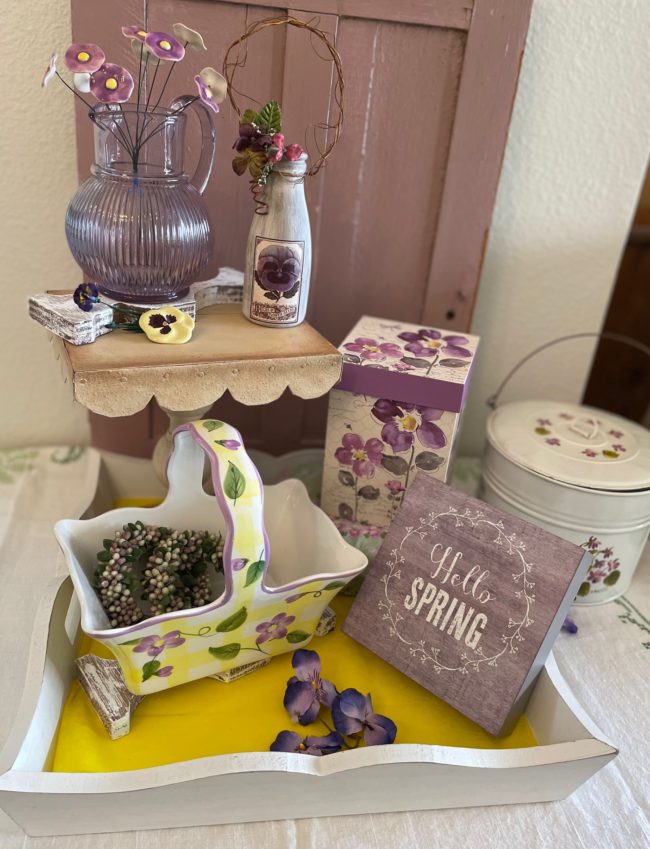
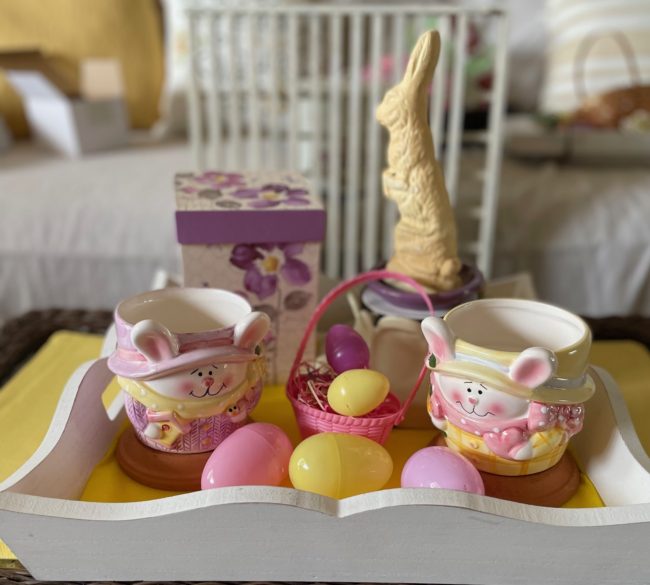
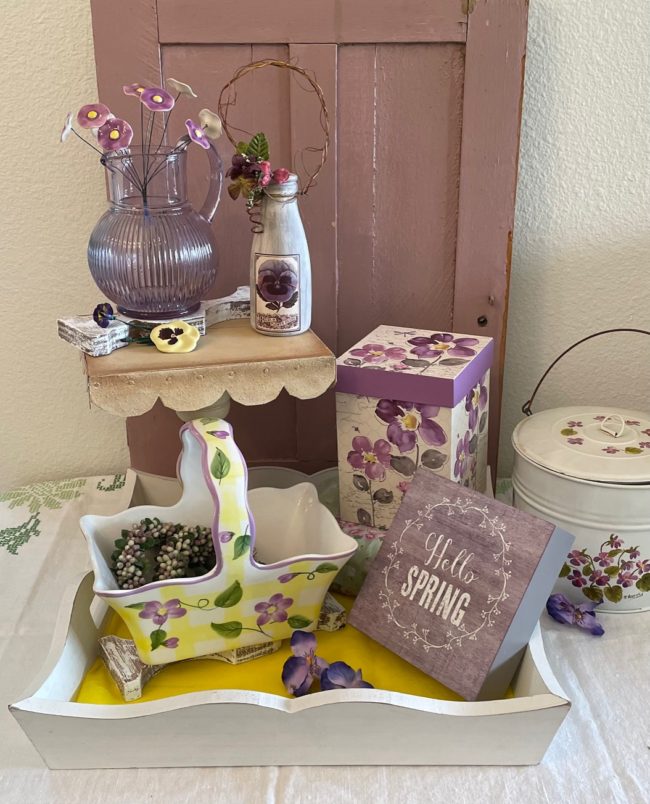
Add your favorite cottage‑style touches. For spring, pansies, a small vase, and soft colors work beautifully. Swap the insert later for summer, fall, or Christmas.
Save This Pin For Later!
A quick little project like this reminds me how satisfying it is to give something a second life with just a few simple materials. This tray went from a winter‑only piece to something I can use in every season, and now it’s one of my favorite spots to style for spring. I love knowing I can swap the insert anytime—summer florals, fall patterns, even Christmas—without committing to paint or a full makeover. It’s such an easy way to refresh a piece you already have and bring a little cottage charm into your home.
The cottage style of the tray and the white color make it a very versatile piece! This is the Easter display I am working on. Let me know in the comments what color or pattern you’d choose for your insert.
One Last Look at the Clearance Tray Makeover Rescue Project
A simple foam‑board insert turned this little clearance find into a year‑round cottage staple I can restyle in minutes.
Disclosure: Some of the links in this post are affiliate links, meaning, at no additional cost to you, I will earn a small commission if you click through and make a purchase. The opinions here are all my own. It helps me to continue to bring to you DIY and projects on my blog.
Please see my disclosure page for more information.
Leave a Reply