Are you curious about how to create a beautiful silk bouquet? I’d love to share a few tips for designing a Springthyme silk bouquet!
Creating beautiful silk flower arrangements can seem intimidating, but it doesn’t have to be! During my thyme as a florist, I discovered a few tips for designing a silk bouquet.
I’d love to share a few tricks & techniques to help you create eye-catching and stunning silk flower arrangements.
Secrets For Designing Beautiful Irresistible Silk Flower Arrangements
Choose The Stems
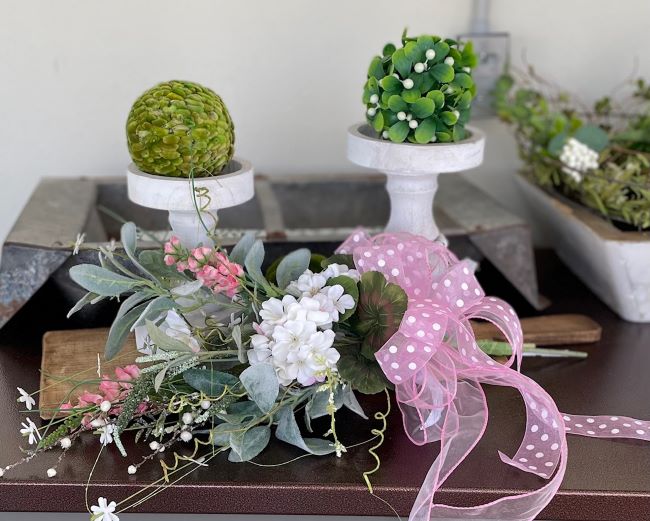
My initial plan was to create an arrangement that I could use as a Spring swag. I thought a pastel color palette would be a good choice and would work well with my existing Spring decor.
I have my longer silk flowers organized in sap buckets inside this old wooden box. I was able to quickly pick out the stems I wanted to use.
How to Store your Silk Flowers
Let’s see what I picked!
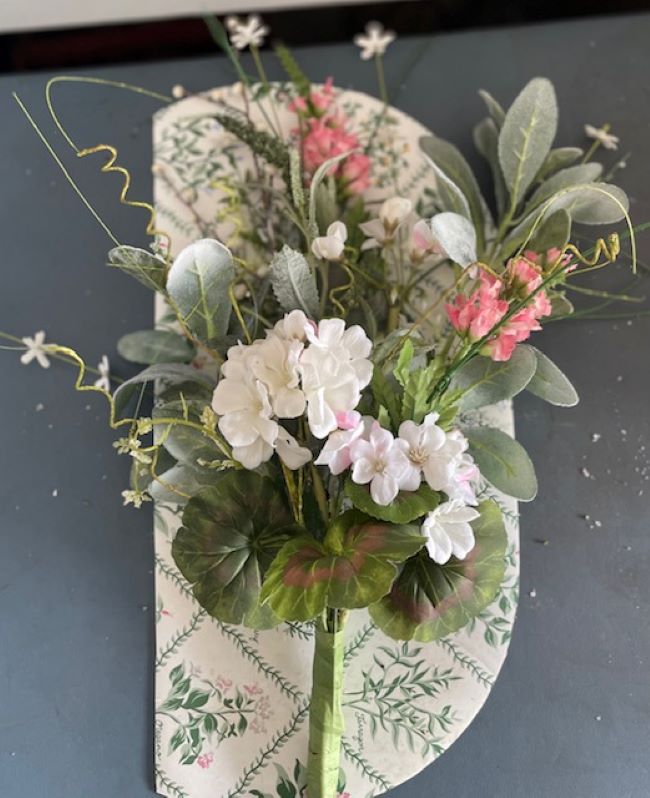
I decided to use lamb’s ear, a purple & green herb stem, a branch of white glittery berries, pink larkspur, white hydrangeas with a hint of blush pink on the blossoms and a wispy bunch of small white flowers. I actually took the wispy bundle apart and used the green “branches” as a separate piece.
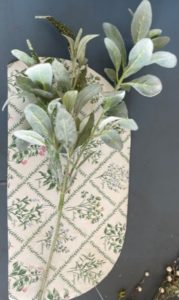
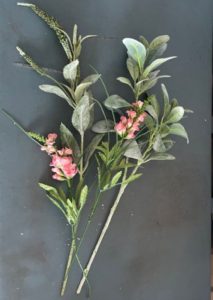
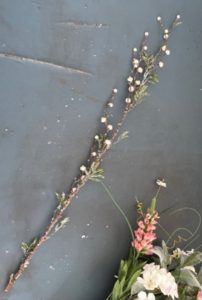
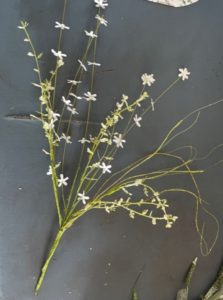
I decided to use lamb’s ear, a purple & green herb stem, a branch of white glittery berries, pink larkspur, white hydrangea with a blush of pink on the blossoms and a wispy bunch of small white flowers. I actually took the wispy bundle apart and used the green “branches” as a separate piece.
Create a Focal Point
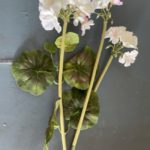
The next step in designing a beautiful silk flower arrangement is to create a visual focal point. Start by selecting one or two flowers to draw the eye and serve as a centerpiece for your display. A bright color or large size usually works best, so feel free to experiment with different ideas and designs until you find what looks right. My largest flower was the white hydrangeas. I would use them as my focal point.
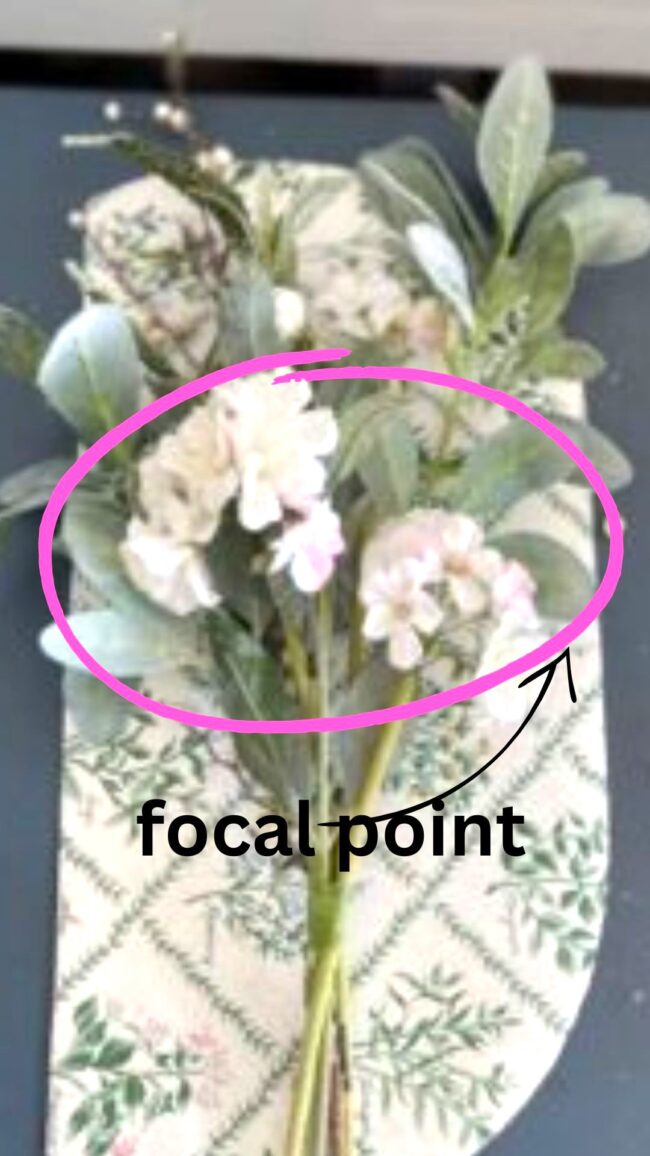
Once you’ve chosen your focal point, it’s time to start adding elements around it that will bring the whole design together.
How to Create A One Sided Silk Arrangement
Since I planned to use the arrangement as a swag, I made it one- sided. A one sided bouquet is a bouquet that has a flat side (or back) and all the flowers face the front.
One-sided bouquets made of silk flowers are extremely versatile. They can be used practically anywhere you need a pop of color or to add interest. They can be used as a swag on a table or wall. They can hang on your door or on a shutter. You can even pop them in a vase or a sap bucket!
I’ll show you how I designed it and then you can decide where you want to use it!
Since I am right handed, I hold the stems in my left hand. With my right hand, I add the the different silk flowers at a slight angle. If I was going to use it in a vase on a table where it could be seen from all angles, I would make the bouquet in a round shape. An example of how to make a round hand tied bouquet can be found here:
I like to work with bushes of silk flowers that I can either cut apart with my bolt cutters or needle nose pliers. Some of the bushes are made with individually wired stems which makes it a lot easier to bend and shape the stems however you want them. My hydrangea stems were originally part of a bush that I cut apart.
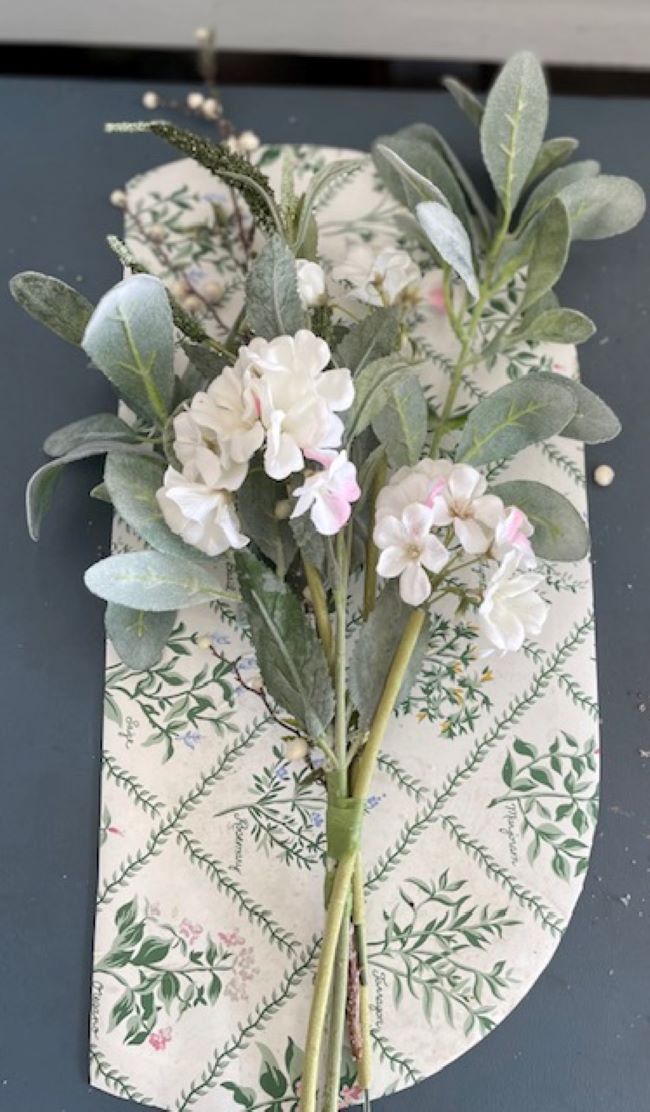
I started making the bouquet by placing the lamb’s ear and the herb stem in my left hand. Then I placed the longest stem (glittery white berries) in the back of the bouquet and tied everything together with green florist tape.

Next, I added the three stems of white hydrangea, placing two in front and one in the back. Once I was happy with the placement, I secured all the stems together with green floral tape.
Next, I added the wispy white flowers in the back of the bouquet. I “fluffed” the bouquet by moving the stems around and bending them if necessary. Then I secured them with more green floral tape.
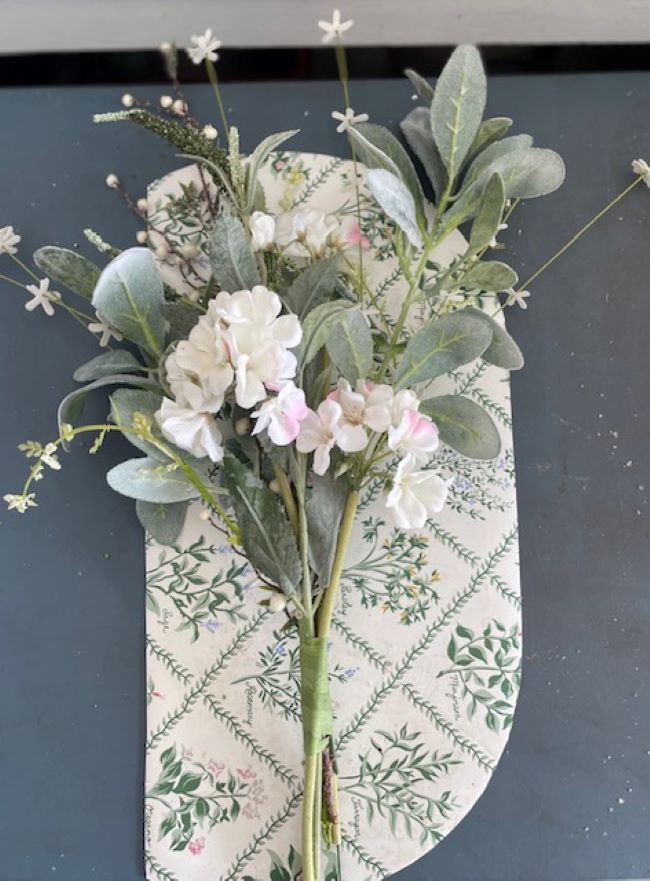
Almost done! Thyme to add the two stems of pink larkspur and wrap the stems with floral tape to secure.
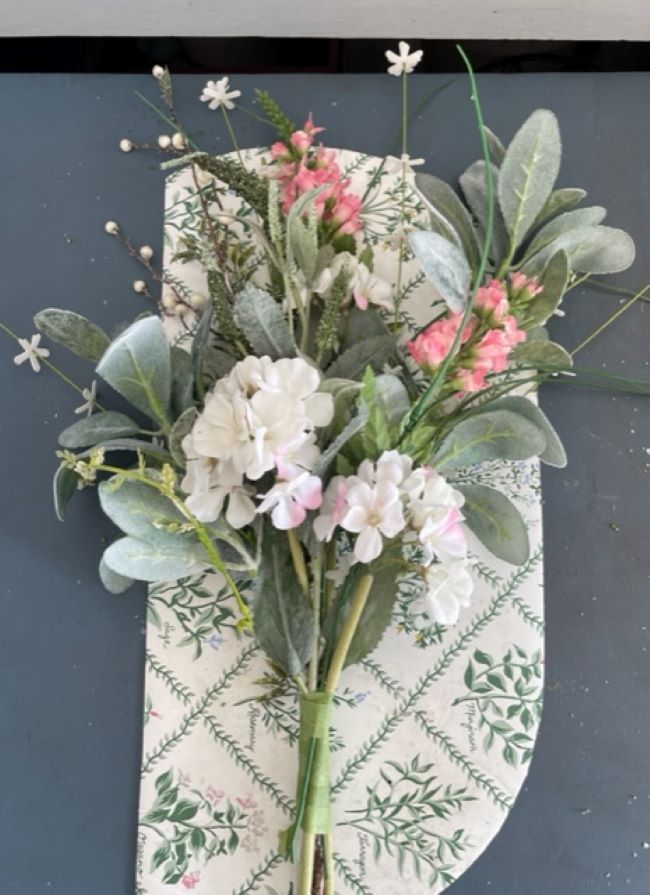
I decided to make a collar out of faux geraniums leaves. I think it adds a little more interest to the bouquet.
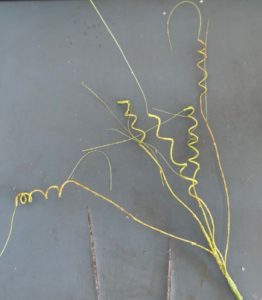
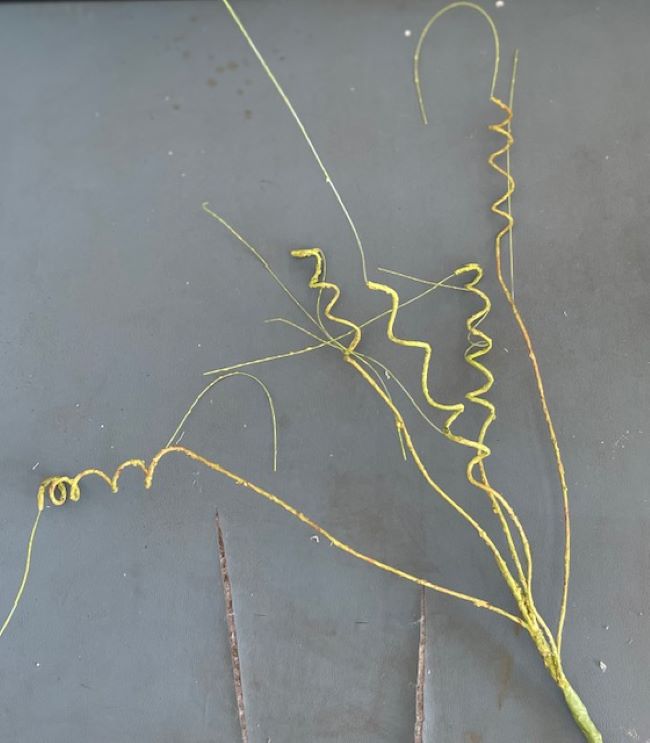
I often add swirls or pig tails to the ends of the stems to add interest. I use a pen and twist the stem around the pen and then gently pull it out, leaving a spiral shape.
Once you have all your stems in place, it is time to tie the bouquet together. I simply used more green floral tape to secure the stems. The floral tape will stick to itself as you stretch it around the stems. A gentle pull is all it takes. If you pull too hard, the tape will rip.
As a final finishing touch, I added a bow. The bow could be left off. It is just a matter of personal preference.
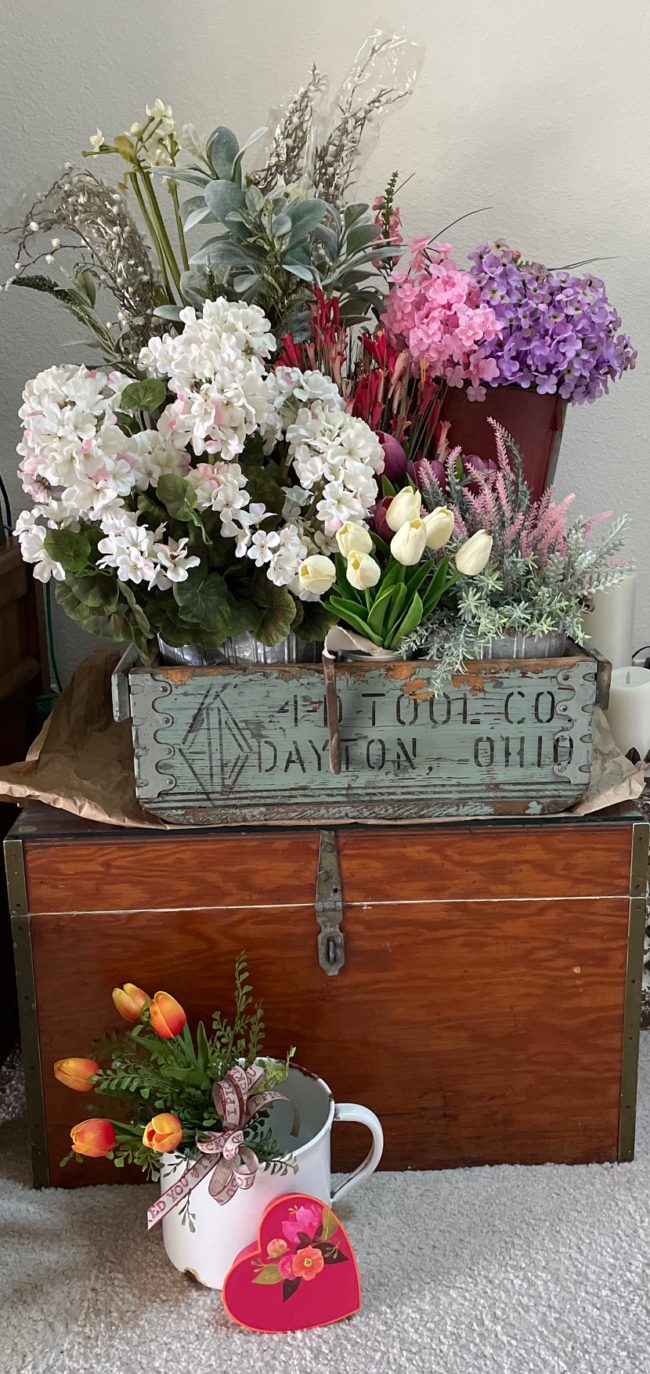
There are many ways to display your bouquet. As long as you are happy with it, that is all that matters!
Save This Pin for Later
One Last Look!
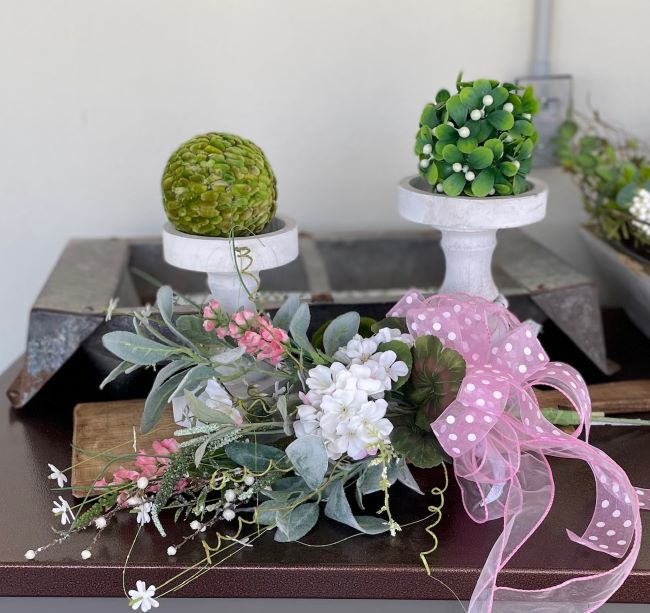
If you are curious about the candleholders in the picture above, more information about them can be found here:A Quick Candleholder Refresh with Chalked Spray Paint
For more ideas on how to decorate with artificial hydrangeas, you might enjoy this post!
Easy Design Ideas Using Artificial Hydrangeas
Why Are They Called Silk Flowers?
In the late 1800s, artificial flowers were actually made out of silk. Since that time, advancements have been made in technology and now they are made out of a variety of materials. The term “silk flowers” is widely used when referring to artificial flowers . I personally think it sounds better to call them silk flowers rather than artificial. I do sometime refer to them as faux flowers also.
Regardless of what they are called, the advancements in technology have also allowed the silk flowers to look more life like or botanically correct. Silk flowers are available in all price ranges. Silk flowers are very long lasting. They are low maintenance but not necessarily no-maintenance! They can attract dust and become faded if left in a bright location. Lightly dust the silk flowers with a feather duster to help remove dust particles.
A Little about Me
My interests range from flowers ( a former florist) to flour (a former pizzeria owner ) and many things in between! I like to use thyme in place of time when I am writing. I love herbs, rusty stuff, gardening & pizza! If you are interested in learning more about me and my entrepreneurial journey, please check out this post:
I hope you enjoyed your thyme here! Thank you for letting me share a few tips for designing a silk bouquet.
[…] How to Create a SpringThyme Silk Bouquet […]