Create simple and beautiful spray rose bud vases in just a few minutes. Learn how to prep, trim, and arrange spray roses for easy, budget‑friendly mini arrangements perfect for tablescapes, gifting, or everyday decorating.
Spray roses are one of my favorite flowers to work with. They’re inexpensive, long‑lasting, and full of personality, with each stem offering several petite blooms at different stages. A few of them tucked into simple bud vases can brighten a table, a nightstand, or a quiet corner of your home. I made a batch of these recently and was reminded how easy and satisfying they are—just a handful of stems and a few minutes of trimming, and you have something soft and lovely to enjoy all week.
Create charming spray rose bud vases using simple grocery‑store flowers and small thrifted bottles. This beginner‑friendly project shows how to prep, trim, and arrange spray roses and baby’s breath for effortless mini arrangements perfect for gifting, tablescapes, or everyday decorating.
Spray roses are one of the easiest grocery‑store flowers to work with. They’re inexpensive, long‑lasting, and each stem gives you multiple petite blooms—perfect for scattering around a table, gifting to friends, or adding a soft touch to any room.
This project uses just a few stems and simple bud vases, making it ideal for beginners or anyone who wants pretty flowers without fuss.

Spray Rose Bud Vases (Easy, Affordable, and Perfect for Any Occasion)
Before you can get started, you will need to gather your flowers, vases and stem cutters.
Gather Your Supplies
- Spray roses (any color)
- Baby’s breath (or another light filler)
- Small bud vases, jars, or thrifted bottles
- Sharp floral snips or scissors
- Clean water
- packets of floral preservative (should come with the bunches of flowers)
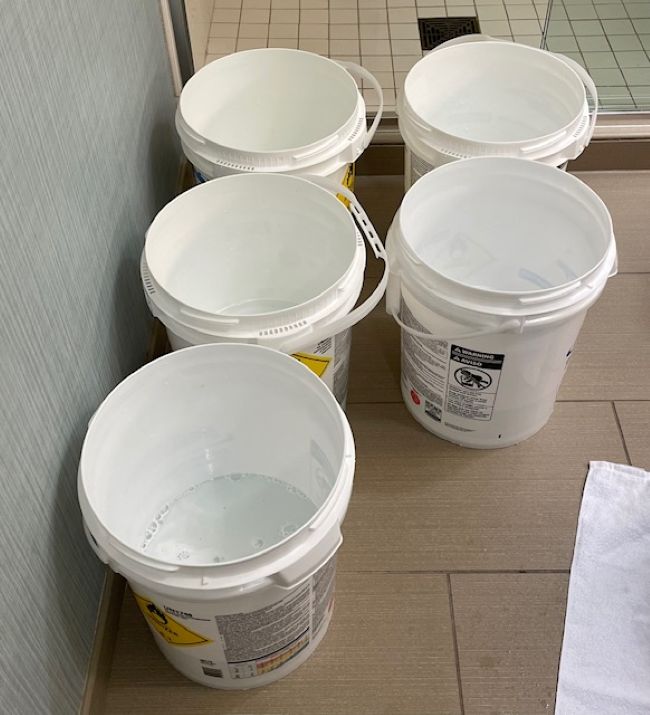
- containers (vases or buckets) to hold stems while you work
Before you process the first bundle of flowers, prepare your containers by filling them about 1/2 full of lukewarm water that you have added preservative to. If your bundles of flowers didn’t come with preservative, it can be found on Amazon. A small amount of bleach will also work in a pinch.
Step 1: Prep Your Flowers
Remove any leaves that would sit below the waterline. Why? Because leaves in water = cloudy vase + shorter vase life due to the leaves decaying.
Spray roses often come with multiple blooms at different stages—this is good. Keep the buds; they’ll open over the next few days.

Step 2: Trim the Stems
Cut each stem at a 45° angle so it can drink easily.
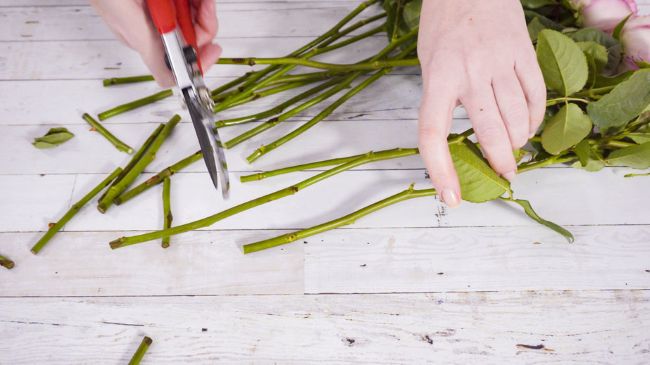
After you cut the stems, place the roses in a bucket or vase of water mixed with preservative and let the flowers rehydrate for at least an hour.

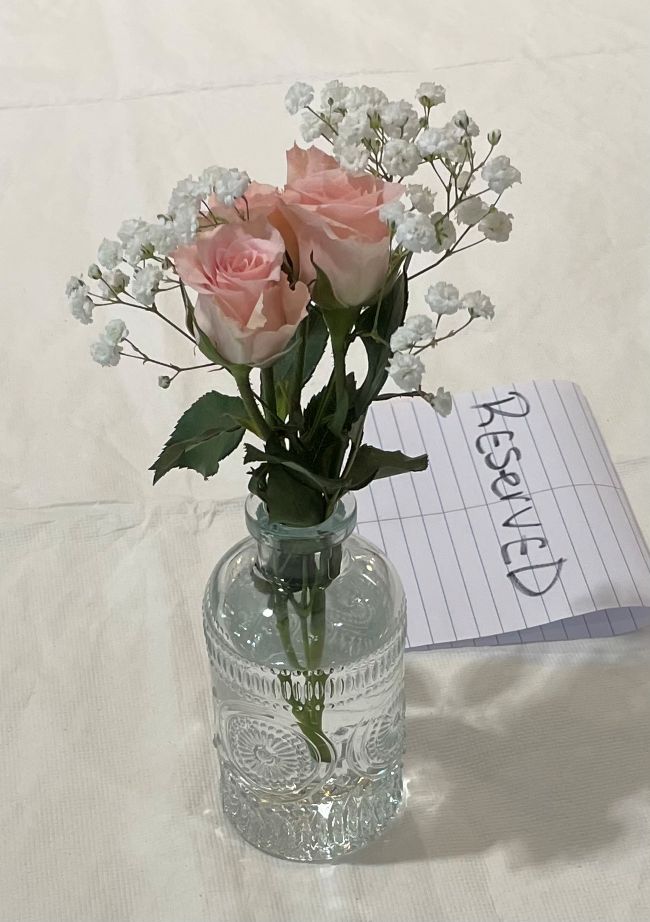
Step 3: Build Your Bud Vase
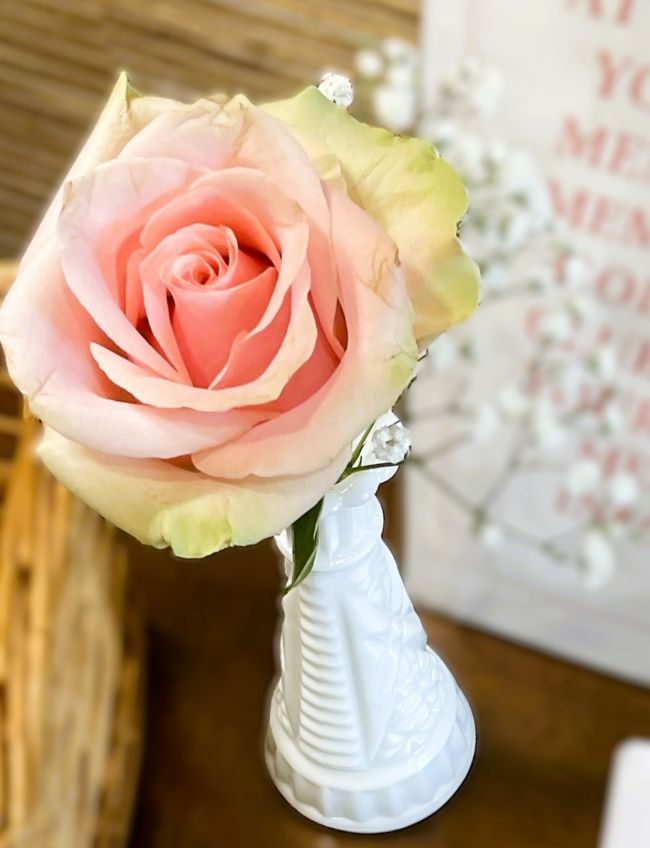
For bud vases, you’ll want stems around 4–6 inches long. A good rule: Hold the stem next to the vase and cut it so the bloom sits just above the rim. Again, you will want to cut the stem at an angle so that the bottom of the stem isn’t resting flat on the bottom of the vase.
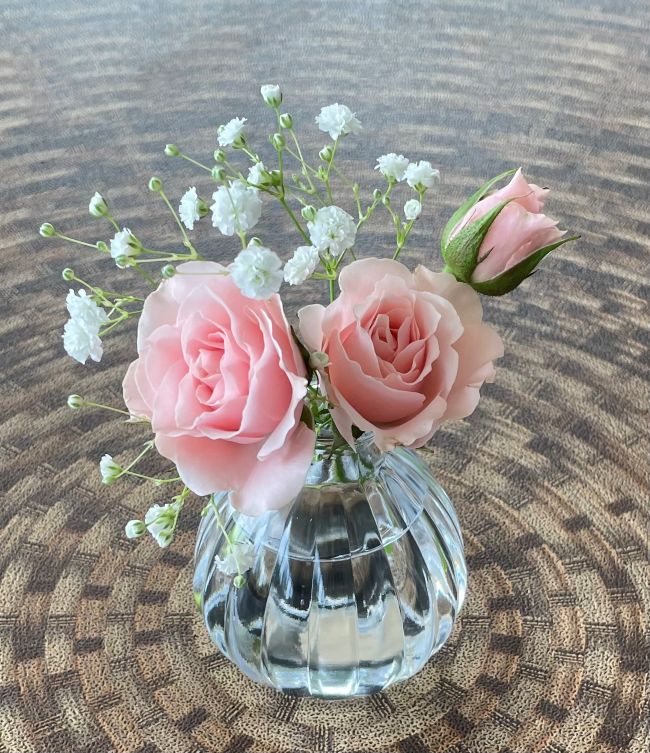
Spray roses do most of the work for you. Place one stem in the vase, then adjust the angle so the blooms fall naturally.

Add one small sprig of baby’s breath to soften the look. You don’t need much—just a whisper of filler. If your vase has a wider opening, add a second rose stem or a second sprig of filler.
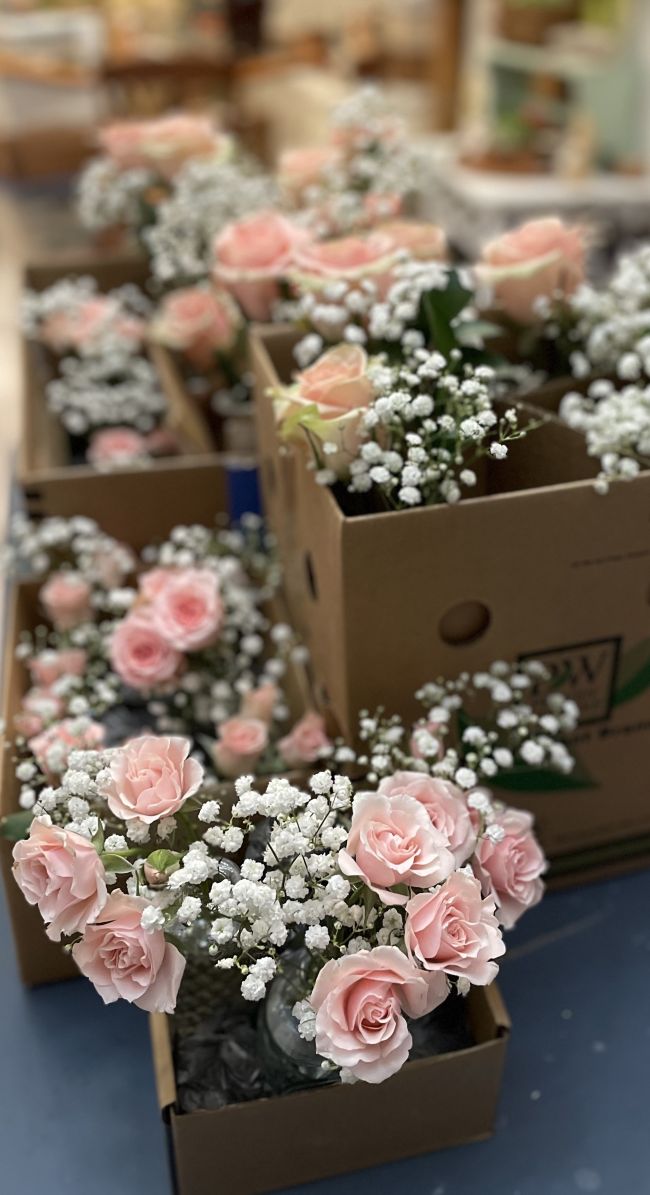
Step 4: Make a Batch (Optional but Fun!)
Spray roses are perfect for assembly‑line arranging. Line up your vases, trim all your stems at once, and drop them in one by one.

This is especially helpful if you’re:
- Setting a table
- Making gifts
- Prepping for an event
- Creating memorial or celebration‑of‑life flowers
Batching keeps everything consistent and quick.
Step 5: Style and Display
These little vases shine anywhere:
- At each place setting
- clustered in the center of a table
- On a nightstand
- In a bathroom
- On a desk (yes—even tucked into a favorite mug!)
Their small size makes them easy to tuck into everyday spaces.
Tips From a Florist
- Choose tight buds if you want them to last a week or more.
- Refresh the water every 1–2 days for maximum vase life. Remember to add preservative to the water!
- Mix in herbs like rosemary or mint for fragrance and texture.
- Stick to one color palette for a cohesive look when making multiples.
Why Spray Roses Work So Well
Spray roses give you:
- Multiple blooms per stem
- A soft, garden‑rose look
- Easy arranging for beginners
- Long vase life
- Great value for the price
- They’re the perfect “starter flower” for anyone wanting to try floral design without overwhelm.
FAQ –
How long do spray roses last in a bud vase?
Spray roses usually last 5–7 days in a small vase. Refresh the water every day or two, keep them out of direct sunlight, and trim the stems again halfway through the week if they start to droop.
How many stems do I need for one bud vase?
Most bud vases look best with one spray rose stem and a tiny sprig of filler. If your vase has a wider opening, two stems will fill it nicely without looking crowded.
Can I use grocery store flowers?
Yes—spray roses from the grocery store work beautifully. Choose bunches with tight buds and firm petals so they’ll open slowly and last longer.
How will I know how many bundles to buy?
Spray roses are usually sold in bundles of 10 stems. Since most bud vases use just one stem (or two for a wider opening), count how many vases you want to fill and divide that number by 10. That will tell you how many bundles you need. It’s always smart to buy one extra bundle if you want a little wiggle room for shorter stems or blooms that don’t open.
These little spray rose bud vases are such a simple pleasure. Whether you’re making one for your kitchen windowsill or a whole row for a dinner table, they add a soft, pretty touch to any space. I hope you enjoy making them as much as I do—and that they bring a little moment of beauty into your day.
Disclosure: Some of the links in this post are affiliate links, meaning, at no additional cost to you, I will earn a small commission if you click through and make a purchase. The opinions here are all my own. It helps me to continue to bring to you DIY and projects on my blog.
Please see my disclosure page for more information.
Leave a Reply