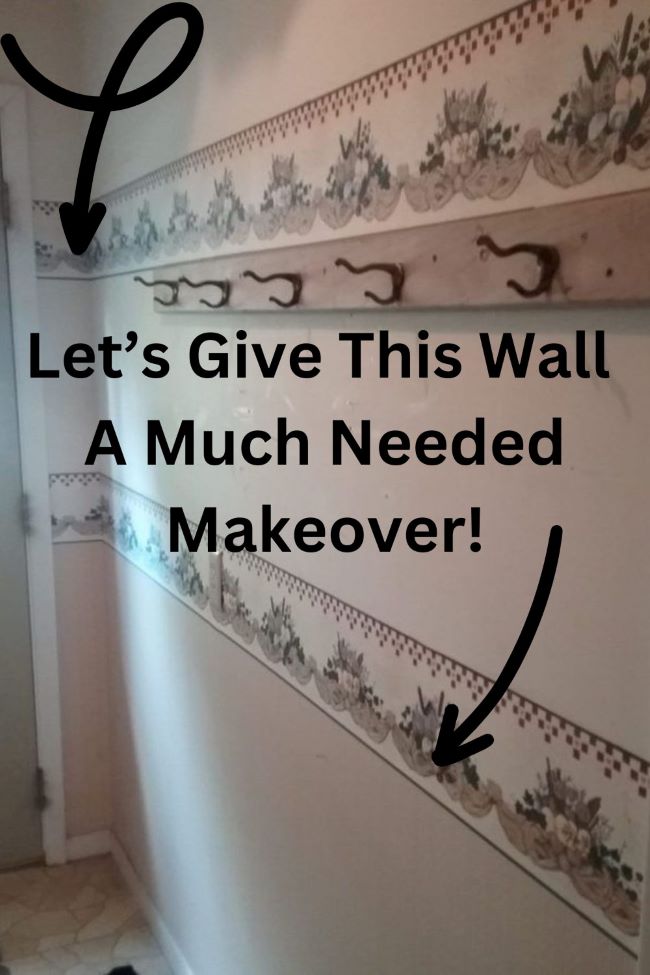
Tired of staring at that outdated wallpaper? Let me show you the technique I used to safely and efficiently remove wallpaper from drywall!
Are you looking for a relatively easy way to remove wallpaper border? After searching on the internet and with some advice from a friend, I found a way to do it! Well, except for that one unfortunate mishap!
On this blog, I may sometimes use affiliate links, which means I earn a small commission if you purchase via the link. The price will be the same whether you use the affiliate link or go directly to the vendor’s website using a non-affiliate link. By using my affiliate links to shop, it helps me to be able to continue bringing you fresh new ideas and projects! Thank you!
A Little Background Before We Get Started!
No matter how you arrived here today, whether you are one of my regular readers, you found me via Google or Hometalk or maybe you “hopped” over from one of my blogger friends linky party, I am so glad you are here! My name is Kimberly and I have a passion for flowers (a former florist) and flour (a former pizzeria owner) and many things in between! Especially rusty and chippy items! I love to share all the things I have learned over the years. Sometimes I tell stories about my life. Other times, I will share a craft, a decorating tip or a recipe. I hope you enjoy your thyme here today and learn at least one thing during your visit!
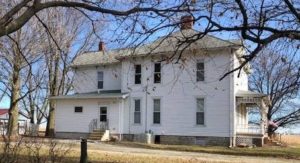
This wall was part of the entryway in the farmhouse that my husband & I lived in prior to our move to Florida. It is the “farmhouse ” part of the From Farmhouse to Florida name.
Grab your wallpaper removing tools and let’s get started
How to Take Wallpaper Off of Drywall
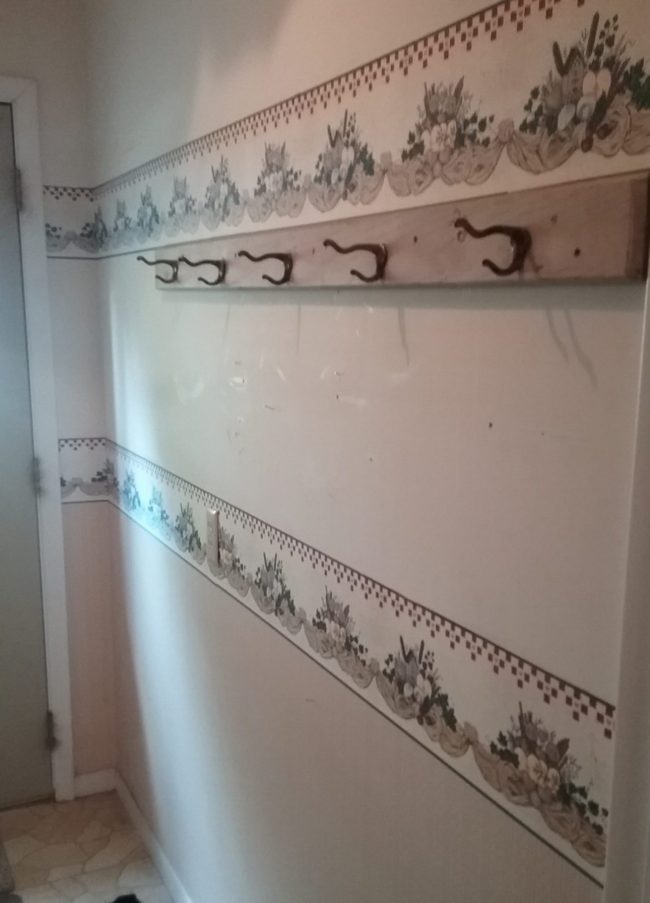
My Mom was a big fan of wallpaper border and used wallpaper in a couple areas of the farmhouse. When I decided to put the farmhouse on the market, I decided it was past thyme for the wallpaper border to go. The entryway not only had the lovely gingerbread theme border, it also had wallpaper halfway up one wall.
I really wanted to replace the flooring in the entryway but my contractor talked me out of it. He felt the money I would spend would be better spent elsewhere.
Tools & Supplies You May Need
My first step was to google “how to remove wallpaper border” on the internet. The most popular way seemed to be to add fabric softener to warm water in a spray bottle, spray the border , let it sit and then gently scrap. Sounded easy enough!
Here’s a list of supplies that I gathered:
- Wallpaper scorer or scoring tool
- Liquid Fabric Softener – I used a lavender scented one but you can use unscented if you prefer
- Putty knife or scraper
- Spray bottle filled with warm water
- drop cloths & old sheets
- Painter’s tape
- Sponges and rags
- Bucket for water
- Protective gloves and goggles
Once I had my tools and supplies gathered, I was ready to prepare the room for the wallpaper removal.
Preparing the Room for Wallpaper Removal
Before I started removing the wallpaper, I prepared the room in order to minimize any potential mess or damage. These simple steps can help you quickly prepare the room:
- Remove any furniture or fixtures near the walls you’ll be working on. If that’s not possible, cover them with plastic drop cloths or tarps and secure them with painter’s tape.
- Lay down additional drop cloths or tarps to protect the floors from any water or debris.
- Turn off the power to any electrical outlets or switches on the walls you’ll be working on. This will ensure your safety while working with water and tools.
With the room prepared, it’s time to test the wallpaper for the best removal method.
Testing the Wallpaper for Best Removal Method
Not all wallpapers are created equal, and different removal methods may be required depending on the type of wallpaper you have. Before you start removing the wallpaper, perform a test in a discreet area to determine the best removal method. Here’s how:
- Select a small section of the wallpaper, preferably in a corner or behind a piece of furniture.
- Use the wallpaper scorer or scoring tool to create small punctures in the wallpaper surface. This will allow the fabric softener/water solution to penetrate the adhesive more effectively.
- Spray the scored area with the fabric softener solution and wait for a few minutes.
- Gently try to peel off the wallpaper using a putty knife or scraper. If the wallpaper comes off easily, you can proceed with the same removal method for the entire room. If it doesn’t, you may need to try a different method. I have listed two other methods near the end of the post.
Removing Wallpaper With Fabric Softener/Water Solution
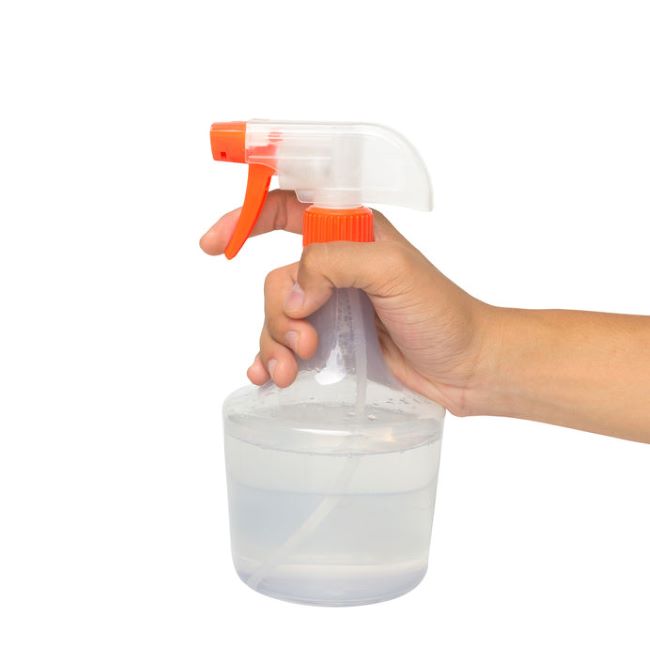
Prior to removing the wallpaper in a small test area, I mixed the fabric softener and the water in a spray bottle. The solution actually smelled pretty good since I used a lavender scented fabric softener.
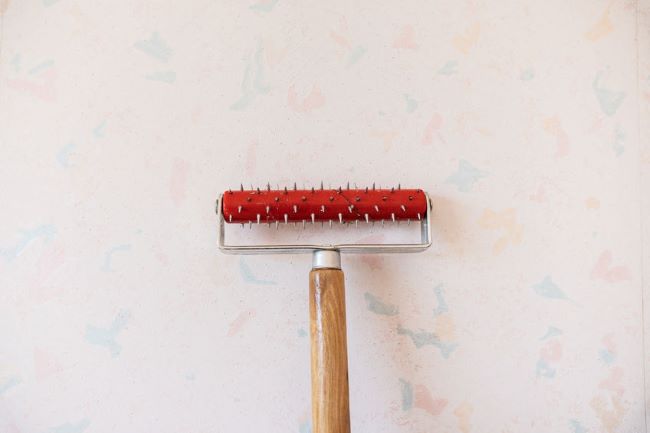
Since the wallpaper border had been on the walls so long, I used the scoring tool to help the fabric softener/water solution permeate the wallpaper border. Using the tool to score the wallpaper allows the solution to reach the backside of the paper and allow the glue to dissolve easier.
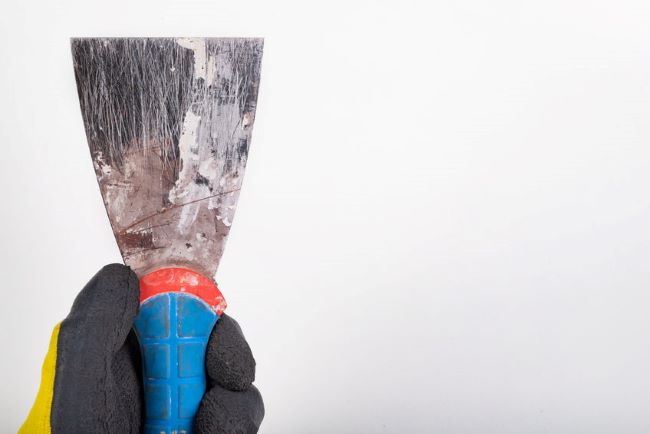
After scoring the wallpaper border, spraying the area with the solution and waiting a few minutes, I was ready to use the scraper to gently remove the wallpaper border.
About That Mishap….
After I removed all of the gingerbread wallpaper border, I decided the wallpaper really needed to go too. I scored the wallpaper, I sprayed the solution on the wall, I waited a bit and then got my handy scraper out. Perhaps I was angry that day, because the next thing I knew, I had gouged a big hole in the wall!

I called the contractor that was helping me with some of the jobs that needed to be done. I asked him if we could put beadboard on the wall to hide the hole. He thought that would be a good solution.
Repairing and preparing the drywall after wallpaper removal
After successfully removing the wallpaper, it’s important to repair and prepare the drywall surface before applying a new coat of paint. Here’s what you need to do:
- Inspect the drywall for any damage or imperfections. Repair any holes, dents, or cracks using spackling compound or joint compound. Allow the compound to dry, then sand it smooth with fine-grit sandpaper.
- Clean the drywall surface with a damp sponge or rag to remove any remaining wallpaper remover solution or adhesive residue. Allow the surface to dry completely before proceeding.
- If necessary, apply a coat of primer to the drywall surface. This will ensure a smooth and even finish when you apply paint.
With the drywall repaired and prepared, now it is thyme to move on to the final steps of the wall makeover process.
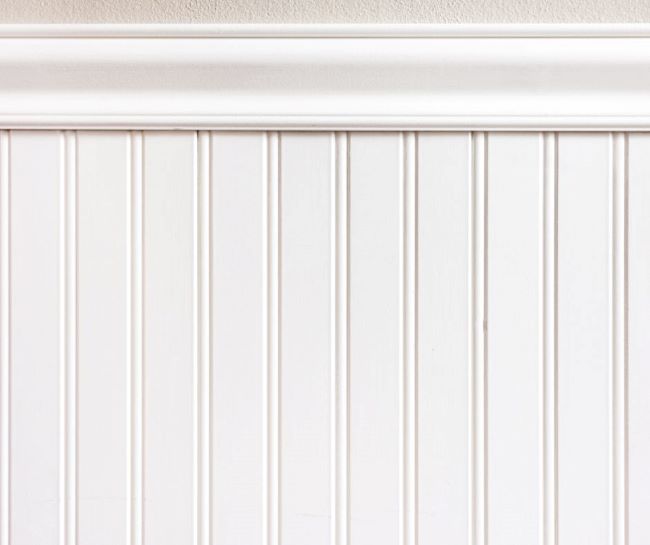
Adding Beadboard and Fresh Paint

Once the contractor covered up the hole in the wall with the beadboard, I freshened up the walls with a coat of paint.
close up of the beadboard:
The entryway looked great! Well, except for the floor! Once the area was all finished , I wished I would have taken the wallpaper border and the wallpaper down long before I did!

Once I mastered the technique of removing the wallpaper border, I was ready to tackle the border in the dining room!
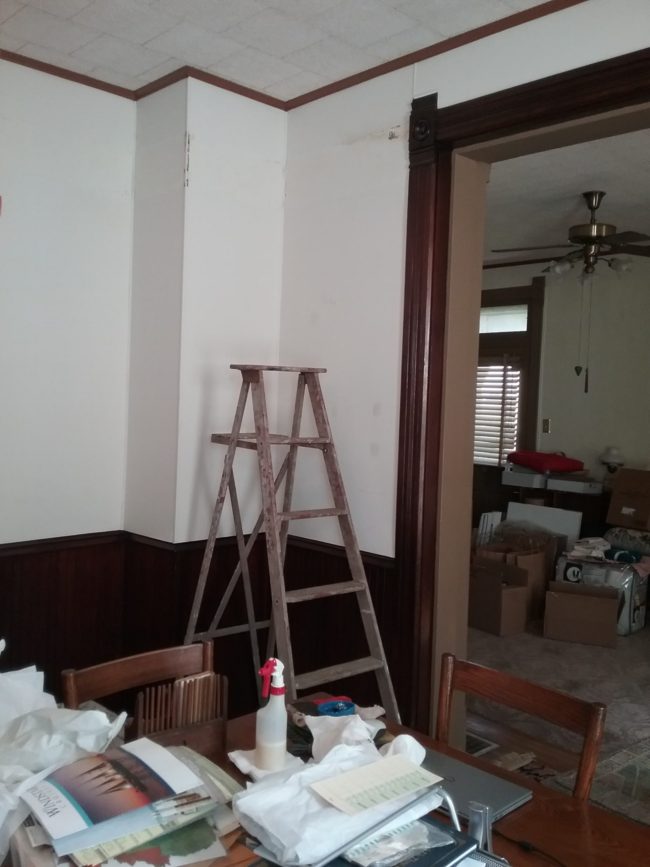
Refreshing the Farmhouse Dining Room Walls
Once the farmhouse was “refreshed”, it was thyme to turn my attention to the kitchen at my parents’ house.
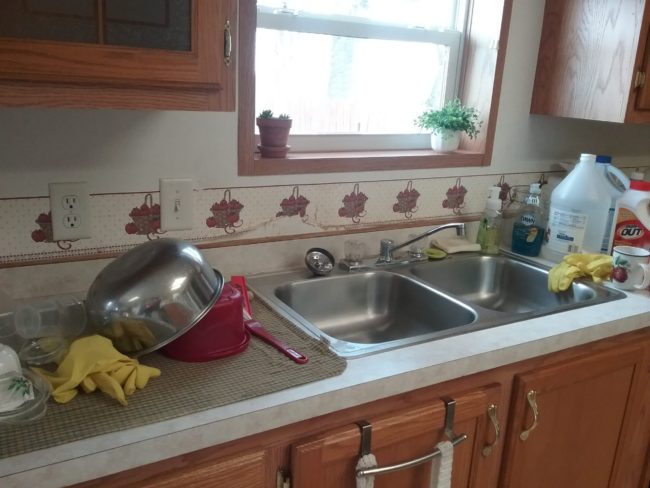
Let’s Remove More Wallpaper Border!
Just remember, don’t be mad when you are scraping off the wallpaper!
Additional Techniques for removing wallpaper from drywall
There are several techniques you can use to remove wallpaper from drywall. The best method will depend on the type of wallpaper and adhesive used. Here are two more techniques:
- Steaming: Steaming is an effective method for removing stubborn or non-strippable wallpapers. Start by scoring the wallpaper surface with a wallpaper scorer or scoring tool. This will allow the steam to penetrate the wallpaper and loosen the adhesive. Next, use a wallpaper steamer to apply steam to the scored areas. Hold the steamer against the wallpaper for about 15 seconds, then use a putty knife or scraper to peel off the softened wallpaper.
- Chemical removal: For wallpapers that are difficult to remove with peeling, scraping, or steaming, a chemical removal solution can be used. Apply the wallpaper remover solution to the wallpaper surface using a sponge or spray bottle, following the manufacturer’s instructions. Allow the solution to penetrate the adhesive for the recommended amount of time, then use a putty knife or scraper to peel off the wallpaper.
Remember to work in small sections at a time and take breaks as needed. Removing wallpaper can be a time-consuming process, but with patience and the right technique, you’ll get the job done.
Dealing with stubborn wallpaper and adhesive residue
In some cases, you may encounter stubborn wallpaper or adhesive residue that is difficult to remove. Here are some additional tips to tackle those stubborn spots:
- For stubborn wallpaper, apply more wallpaper remover solution and let it sit for a longer period of time before attempting to remove it.
- If the adhesive residue is particularly stubborn, you can try using a wallpaper stripper gel or paste. Apply the gel or paste to the residue and let it sit for the recommended amount of time. Then, use a putty knife or scraper to gently scrape off the residue.
- If all else fails, you may need to resort to sanding the drywall surface to remove any remaining adhesive residue. Use a fine-grit sandpaper and be careful not to damage the drywall.
Tips for a safe and efficient wallpaper removal process
Here are some additional tips to make the wallpaper removal process as safe and efficient as possible:
- Wear protective gloves and goggles to protect your hands and eyes from any chemicals or debris.
- Work in a well-ventilated area to avoid inhaling any fumes from the wallpaper remover solution.
- Take breaks as needed to avoid fatigue and prevent any accidents or injuries.
- Use caution when working near electrical outlets or switches. Ensure the power is turned off and avoid contact with water or wet tools.
- Dispose of the removed wallpaper, adhesive residue, and any other waste properly according to local regulations.
By following these tips, you’ll be able to safely and efficiently remove wallpaper from drywall, leaving you with a clean and fresh surface ready for a new design.
Frequently asked questions about removing wallpaper from drywall
- Can I paint over wallpaper instead of removing it? While it is possible to paint over wallpaper, it is generally not recommended. The wallpaper texture may show through the paint, and any imperfections or damage on the wallpaper surface will still be visible.
- How long does it take to remove wallpaper from a room? The time it takes to remove wallpaper from a room will depend on various factors, such as the size of the room, the type of wallpaper, and the removal method used. It can take anywhere from a few hours to several days to complete the process.
- Can I hire a professional to remove the wallpaper for me? If you’re not confident in your abilities or don’t have the time to remove the wallpaper yourself, hiring a professional can be a good option. They have the experience and tools to complete the job efficiently and effectively.
- Can I reuse the wallpaper after removing it? In most cases, wallpaper cannot be reused after removal. The adhesive on the back of the wallpaper may become damaged during the removal process, making it difficult to reapply.
Conclusion: Enjoy your new, wallpaper-free walls!
With the step-by-step guide provided in this article, you now have the knowledge and tools to safely and efficiently remove wallpaper from drywall. Remember to gather all the necessary tools and materials, prepare the room, test the wallpaper for the best removal method, and use the appropriate techniques for peeling, scraping, steaming, or using a chemical removal solution.
Once you’ve successfully removed the wallpaper, repair and prepare the drywall surface before applying a new finish. Follow the tips provided to ensure a safe and efficient wallpaper removal process.
Say goodbye to that outdated wallpaper and hello to a fresh new space! Enjoy your new, wallpaper-free walls and get ready to transform your space with ease and confidence.
Happy wallpaper removal!
Save This Pin For Later!
Shopping links:
As an Amazon Associate, I earn from qualifying purchases
See something that interests you? Simply tap the “i” next to any of the photos and you will see the item description and price. Click +Add to My Shopping List or +Add Product and the items are added to your shopping cart. You can shop from blog post to blog post and your shopping cart will follow you! When you are ready to checkout, simply click checkout which will take you to Amazon to complete the transaction!
Disclosure: Some of the links in this post are affiliate links, meaning, at no additional cost to you, I will earn a small commission if you click through and make a purchase. The opinions here are all my own. It helps me to continue to bring to you DIY and projects on my blog.
Please see my disclosure page for more information.
[…] Let’s Give This Wall A Much Needed Makeover! […]